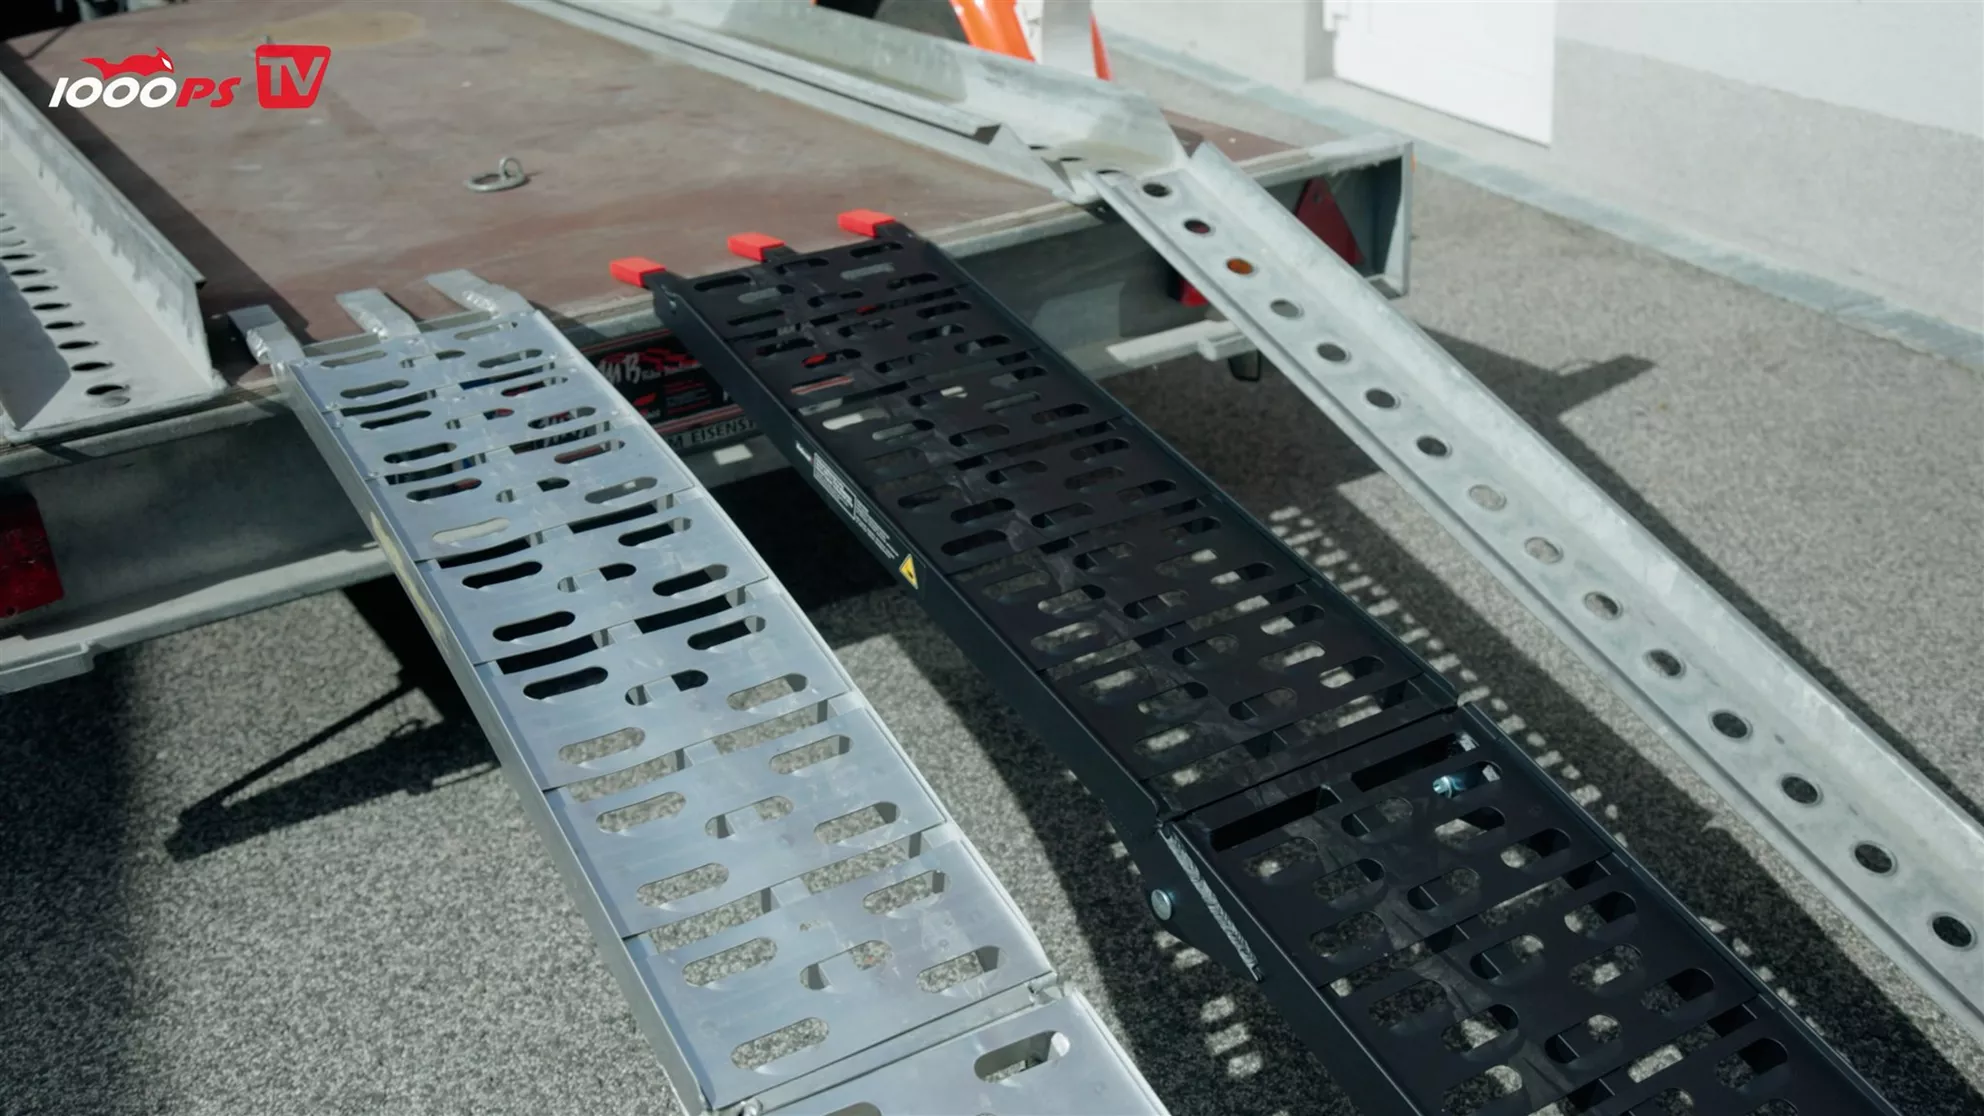
The first critical point isn't the tie-down strap, but the transition from the ground to the load bed. A low-bed trailer keeps this angle comparatively shallow, whereas high-bed trailers and vans have to overcome a much higher edge. A short ramp can create such a sharp kink there that a bike with a low-slung fairing grounds out at the transition. Longer, slightly curved ramps take the sting out of exactly this area. The downside: as length increases, so do the space required and the handling effort. Besides the geometry, the stated load capacity must therefore also match the weight of the bike.
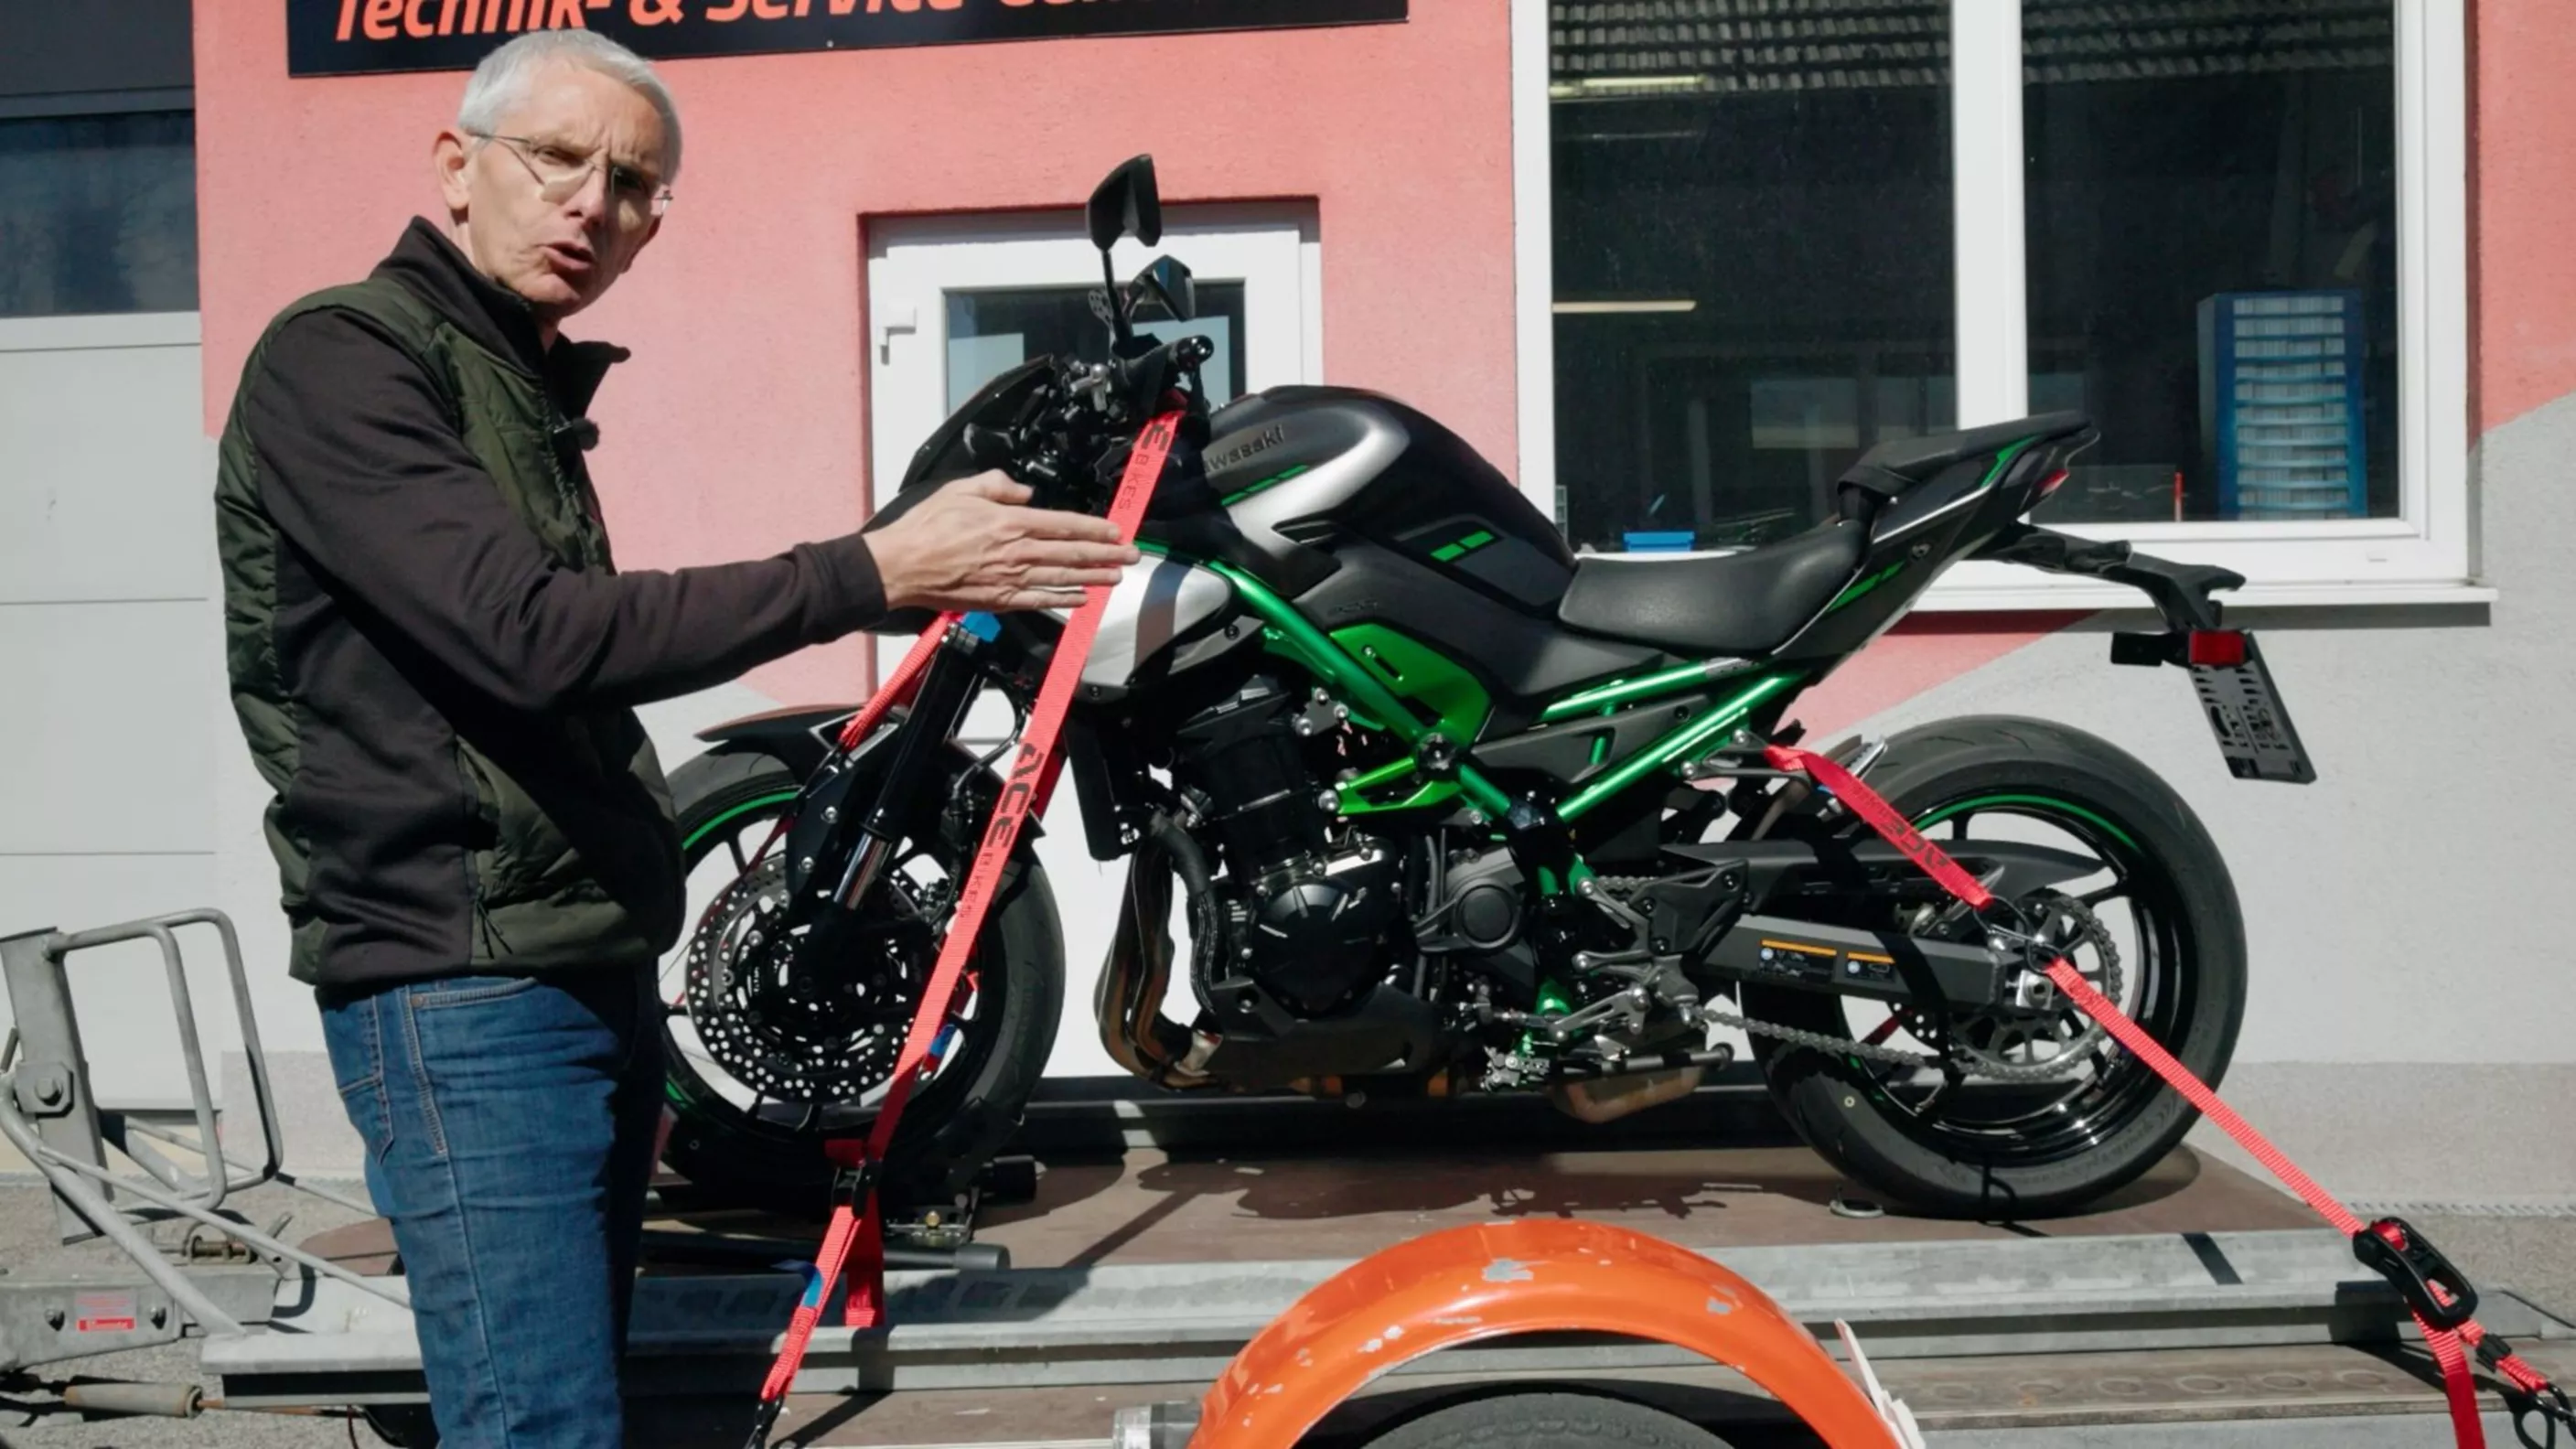
How to load a bike properly and tie it down securely
Using ramps, chocks and straps correctly
Getting a bike safely onto a trailer or into a van starts long before the first tie-down strap. Martin Bauer explains how ramps, wheel chocks and lashing points work together, and which mistakes can prove especially costly when loading, tying down and unloading.

Martin_Bauer
published on 10/5/2026
5,142 Views
The loading edge determines the right ramp
Trailer and ramp must not move
Before the bike rolls, the base has to be solid. The safest option is to leave the trailer hitched to the towing vehicle; its brake should also be applied. Even a few centimetres of movement can get nasty when the bike is halfway up the ramp. A ramp with a hook-in lip creates a positive stop. If it doesn't have one, it must be secured against slipping away with straps or a solid abutment.
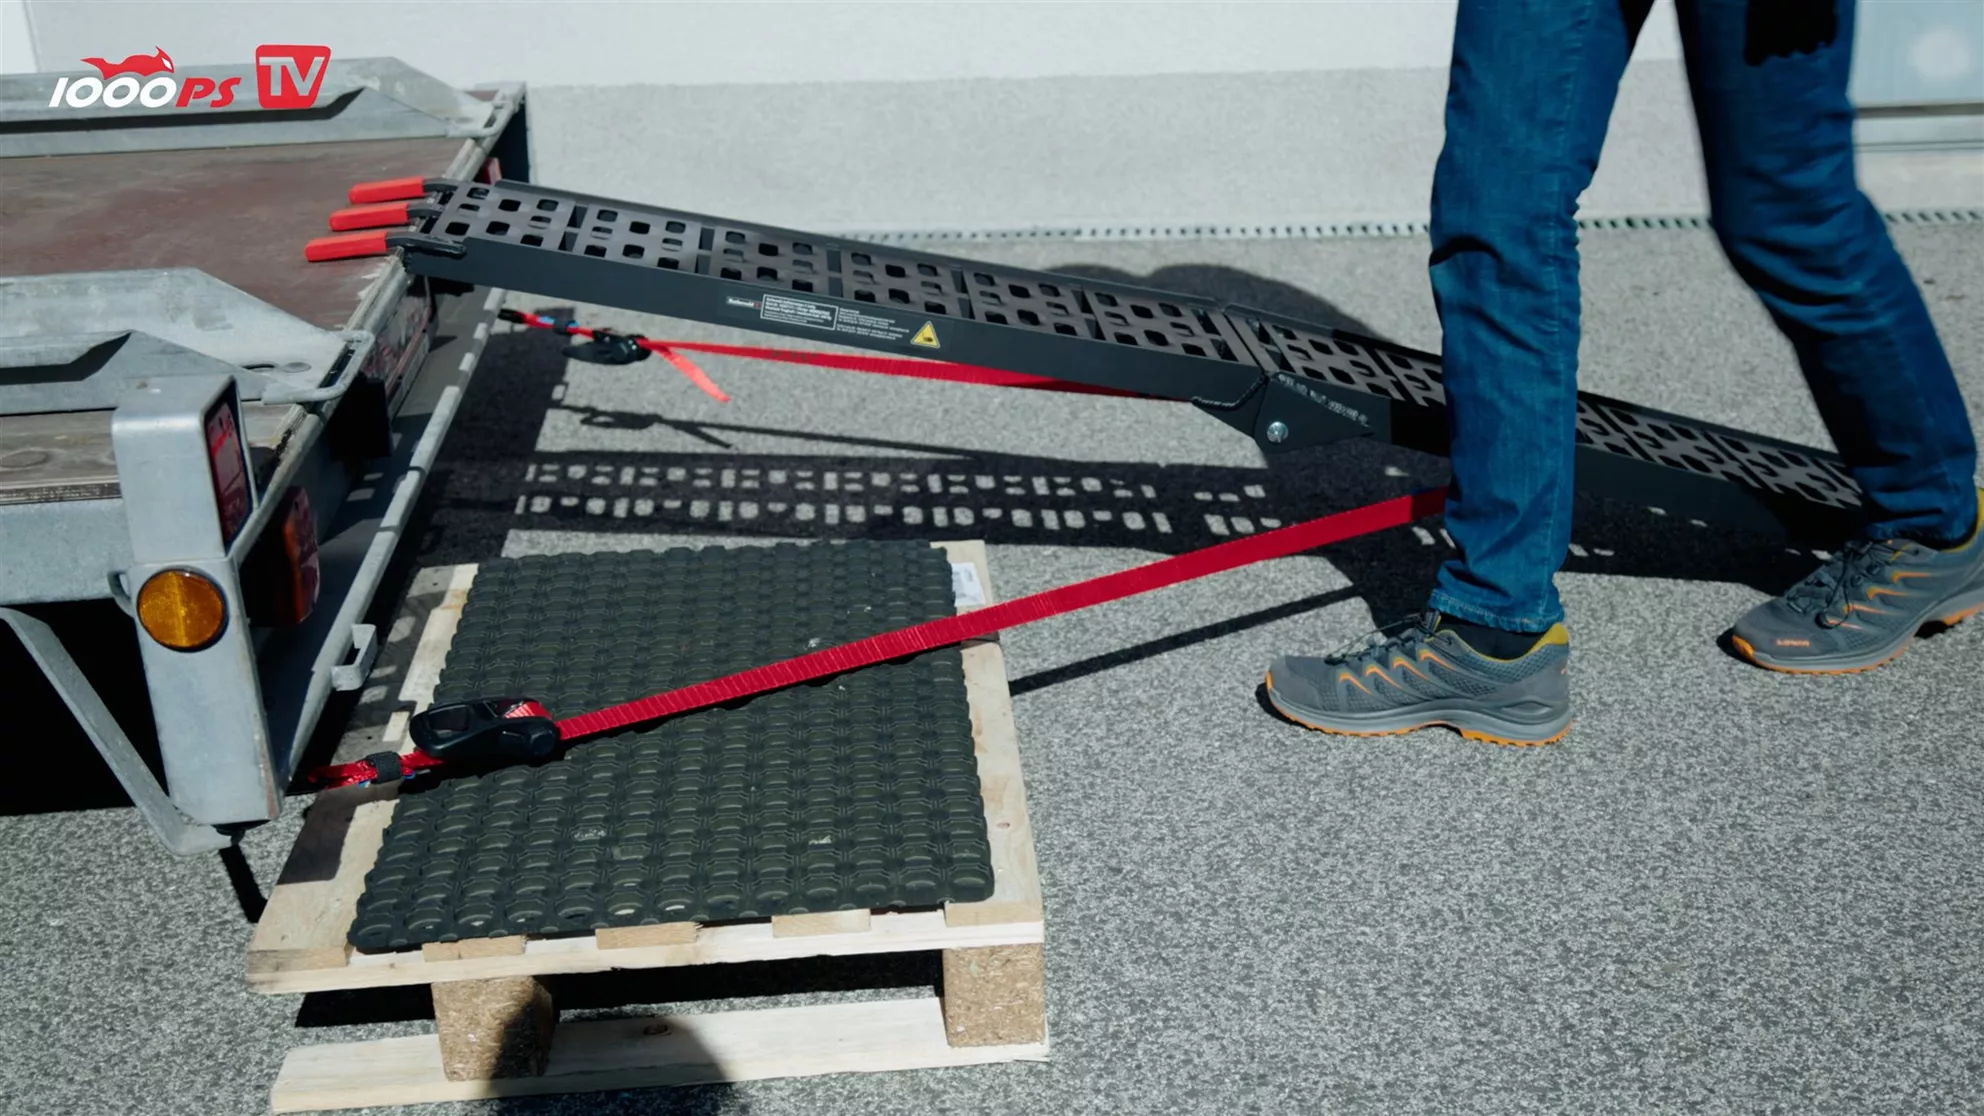
If you want to play it safe, secure the ramp to the trailer.
This becomes especially important when riding up under engine power: as soon as the front wheel is on the load bed, only the rear wheel is still bearing down on the ramp. If it slips away then, the loading job very quickly turns into an expensive YouTube blooper.
A wheel chock frees up your hands
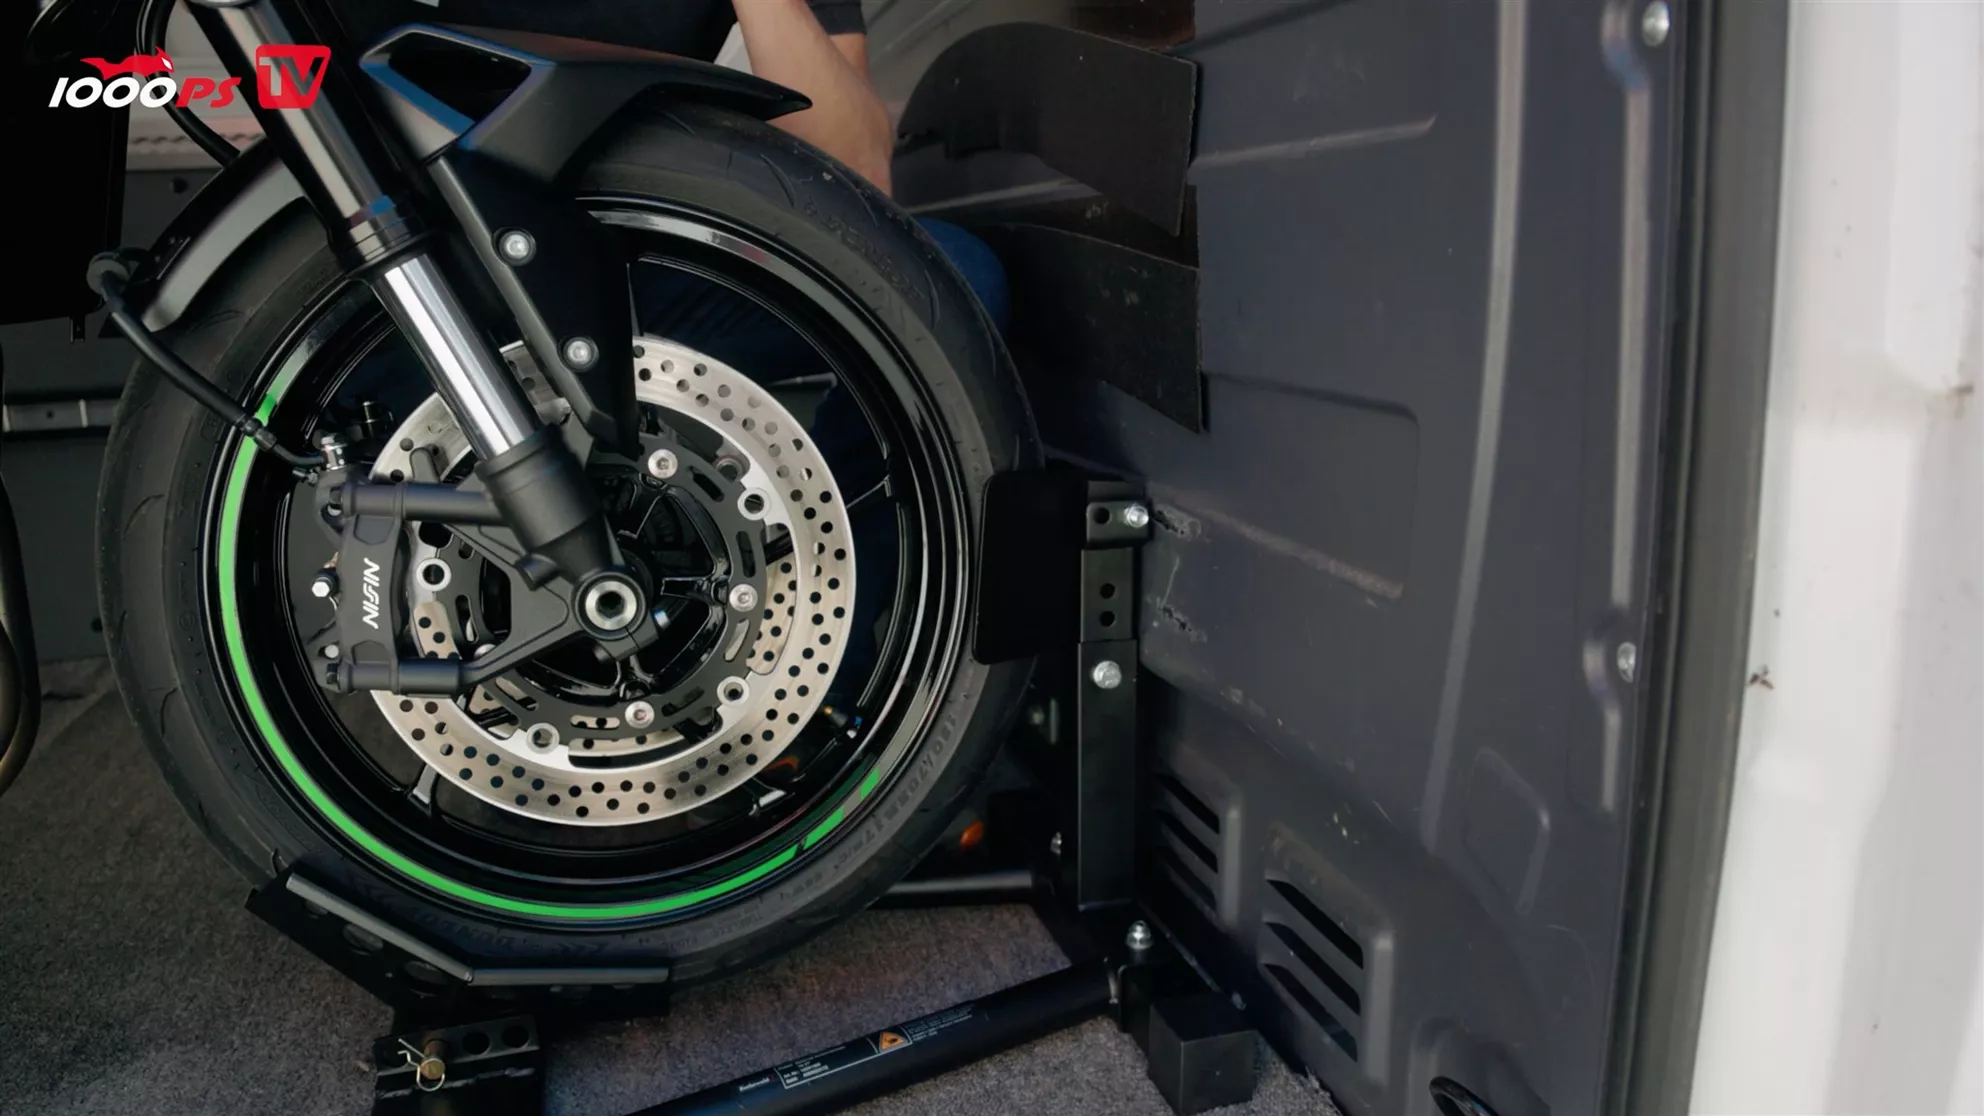
For Martin Bauer, a sturdy wheel chock is one of the most important aids. It guides the front wheel, holds the bike upright once it's been ridden on and gives you time to attach the straps calmly. What's crucial, though, is that the chock itself can't wander. On a normal trailer it can butt up against the front headboard, be positively anchored or secured with straps. On your own trailer or van, bolting it down firmly is the cleanest solution. The chock doesn't replace the tie-downs; it merely stabilises the bike while you work and then supports it longitudinally.
Ratchet or cam buckle is a question of system
Cam buckles are quick to hook in and can be tightened by hand. But every rose has its thorns: their clamping point stresses the webbing at the same spot over and over, which is why wear and slipping need to be checked particularly carefully.
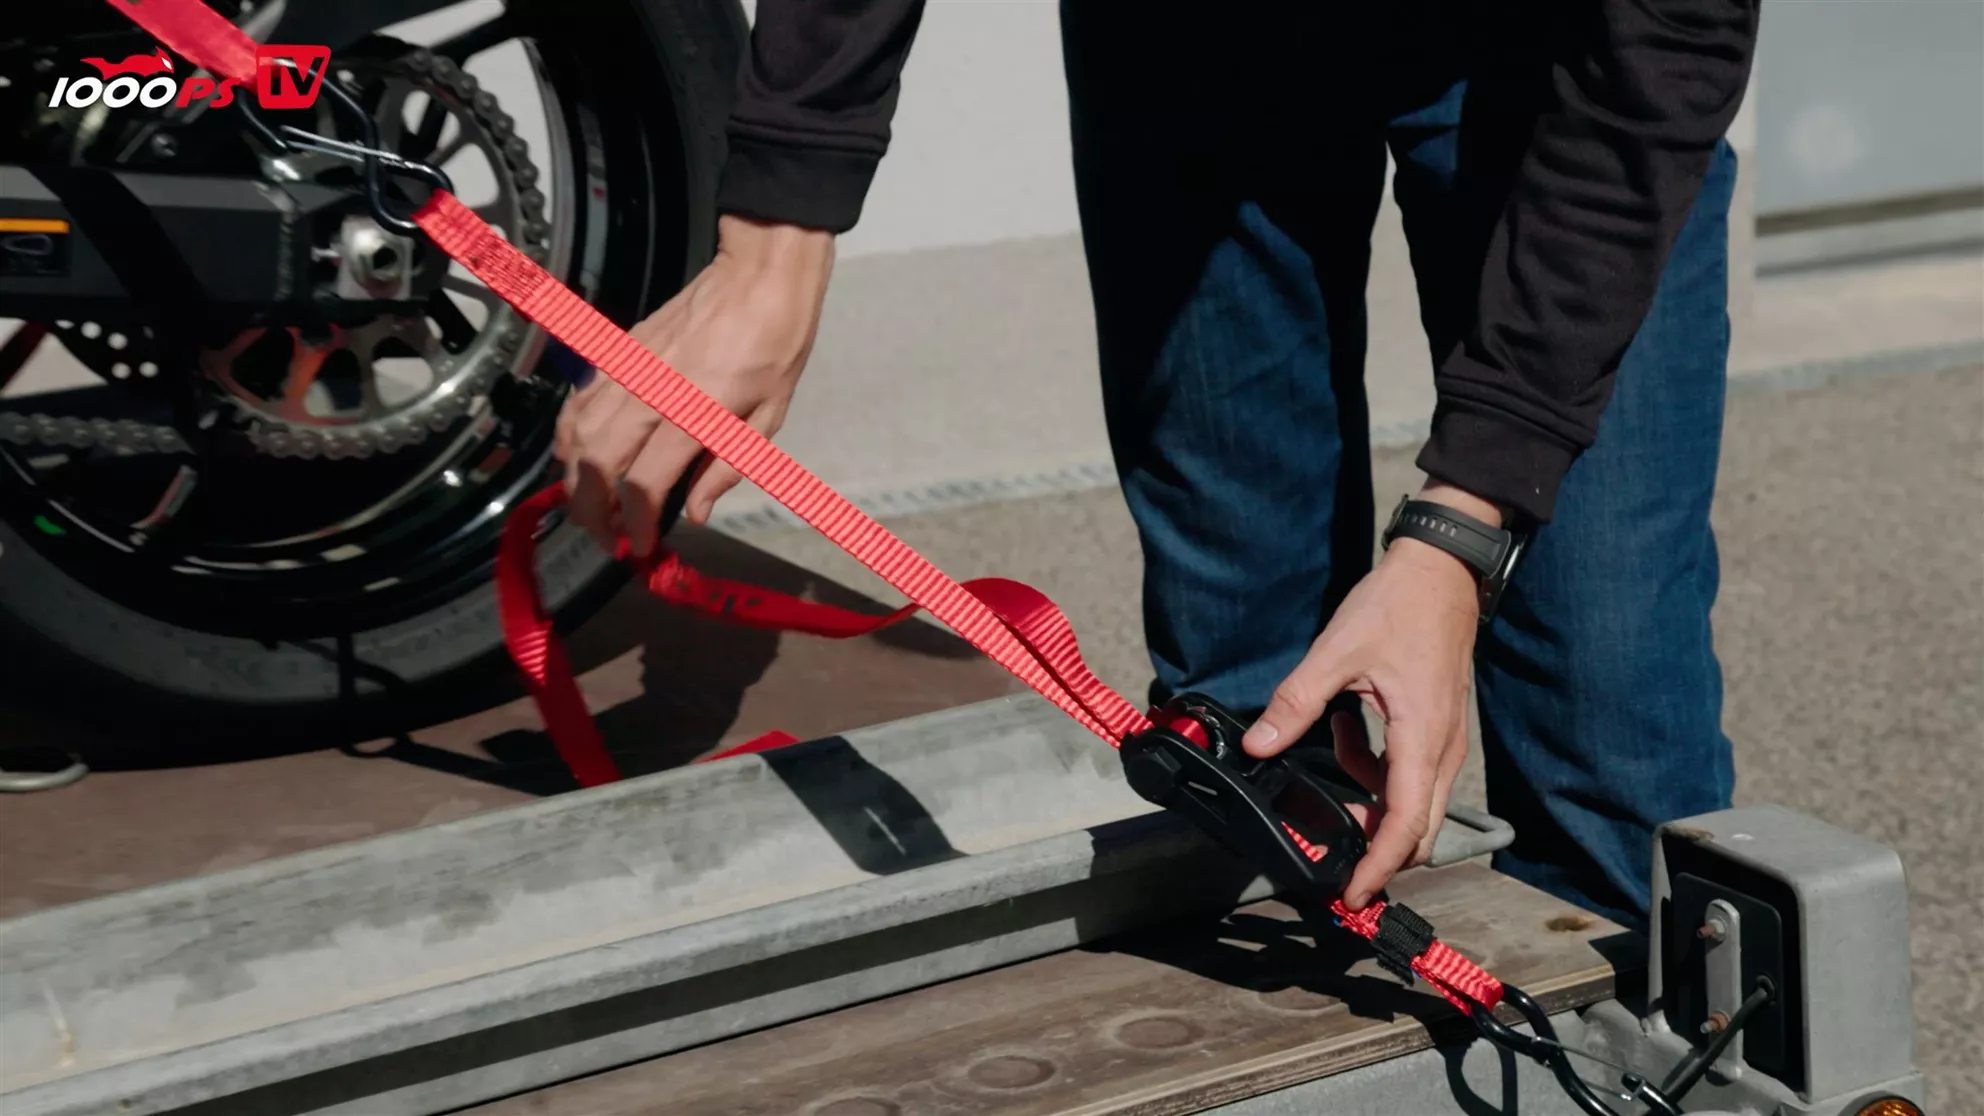
Which system you use is a matter of taste. What matters is that the vehicle isn't strapped down too tightly.
Ratchet straps take more time to thread and tension, but generate significantly higher tensile forces and hold more reliably on very uneven roads. Regardless of the system, the hooks should have a safety catch against accidental unhooking. The load capacity of the straps and lashing points must also match the load. A good buckle is of little use if the strap or anchor point can't cope with the strain.
Push with a helper or feed in the engine carefully
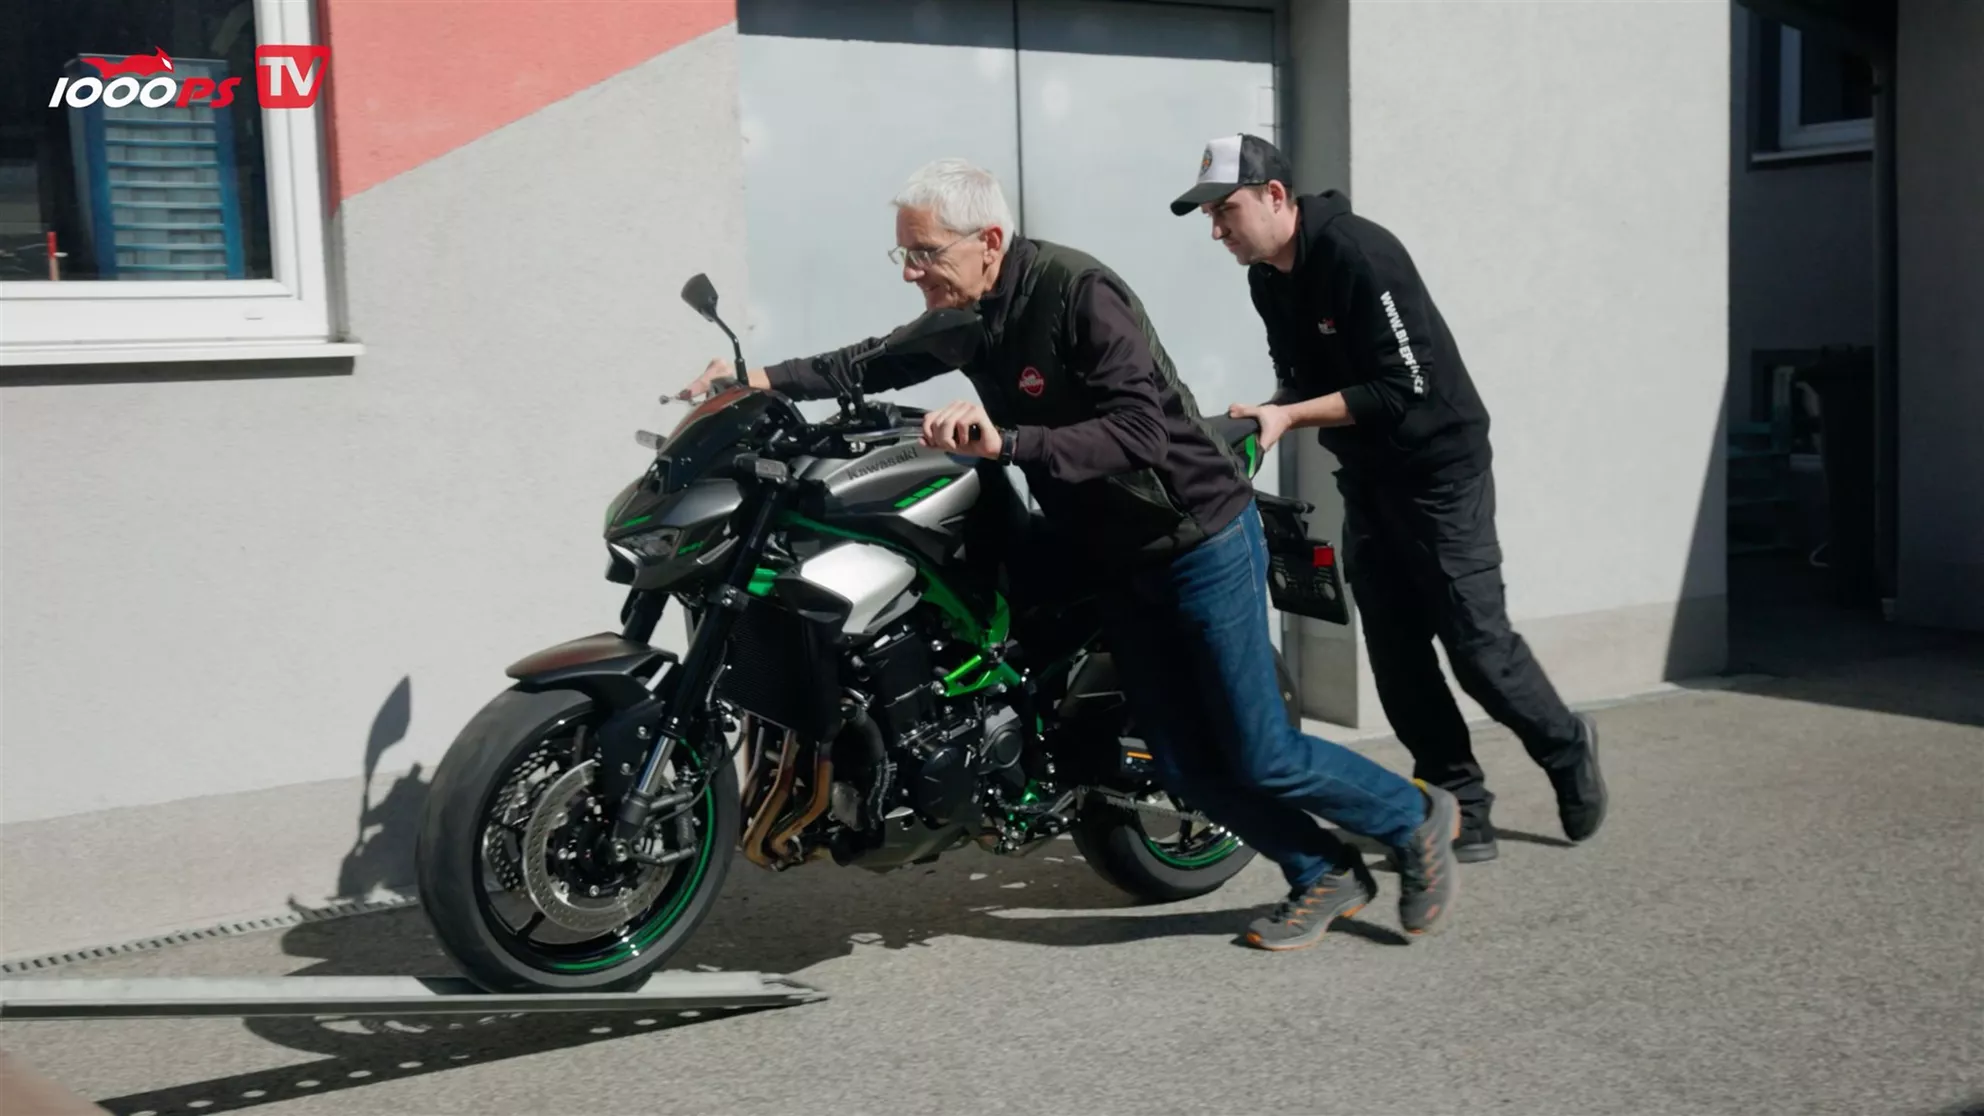
When loading without the engine running, one person keeps the bike balanced while a second pushes from behind. On your own, the engine can help: first gear, as little throttle as possible and feed in the power cleanly via the clutch. That's no invitation for a bold run-up. The higher the loading edge, the more important an additional step or a second parallel ramp becomes, on which the rider can walk alongside the bike. Anyone riding up a narrow rail also has to stay neatly centred, because a tyre riding up the side can make the bike topple over unexpectedly.
Soft ties at the front, pulling forwards
At the front, Martin uses soft loop straps around the lower triple clamp. That way no metal hook touches the bike, and the self-tightening loop reduces chafing. The straps run slightly forwards and outwards so the bike is pulled into the chock and can't roll back when accelerating.
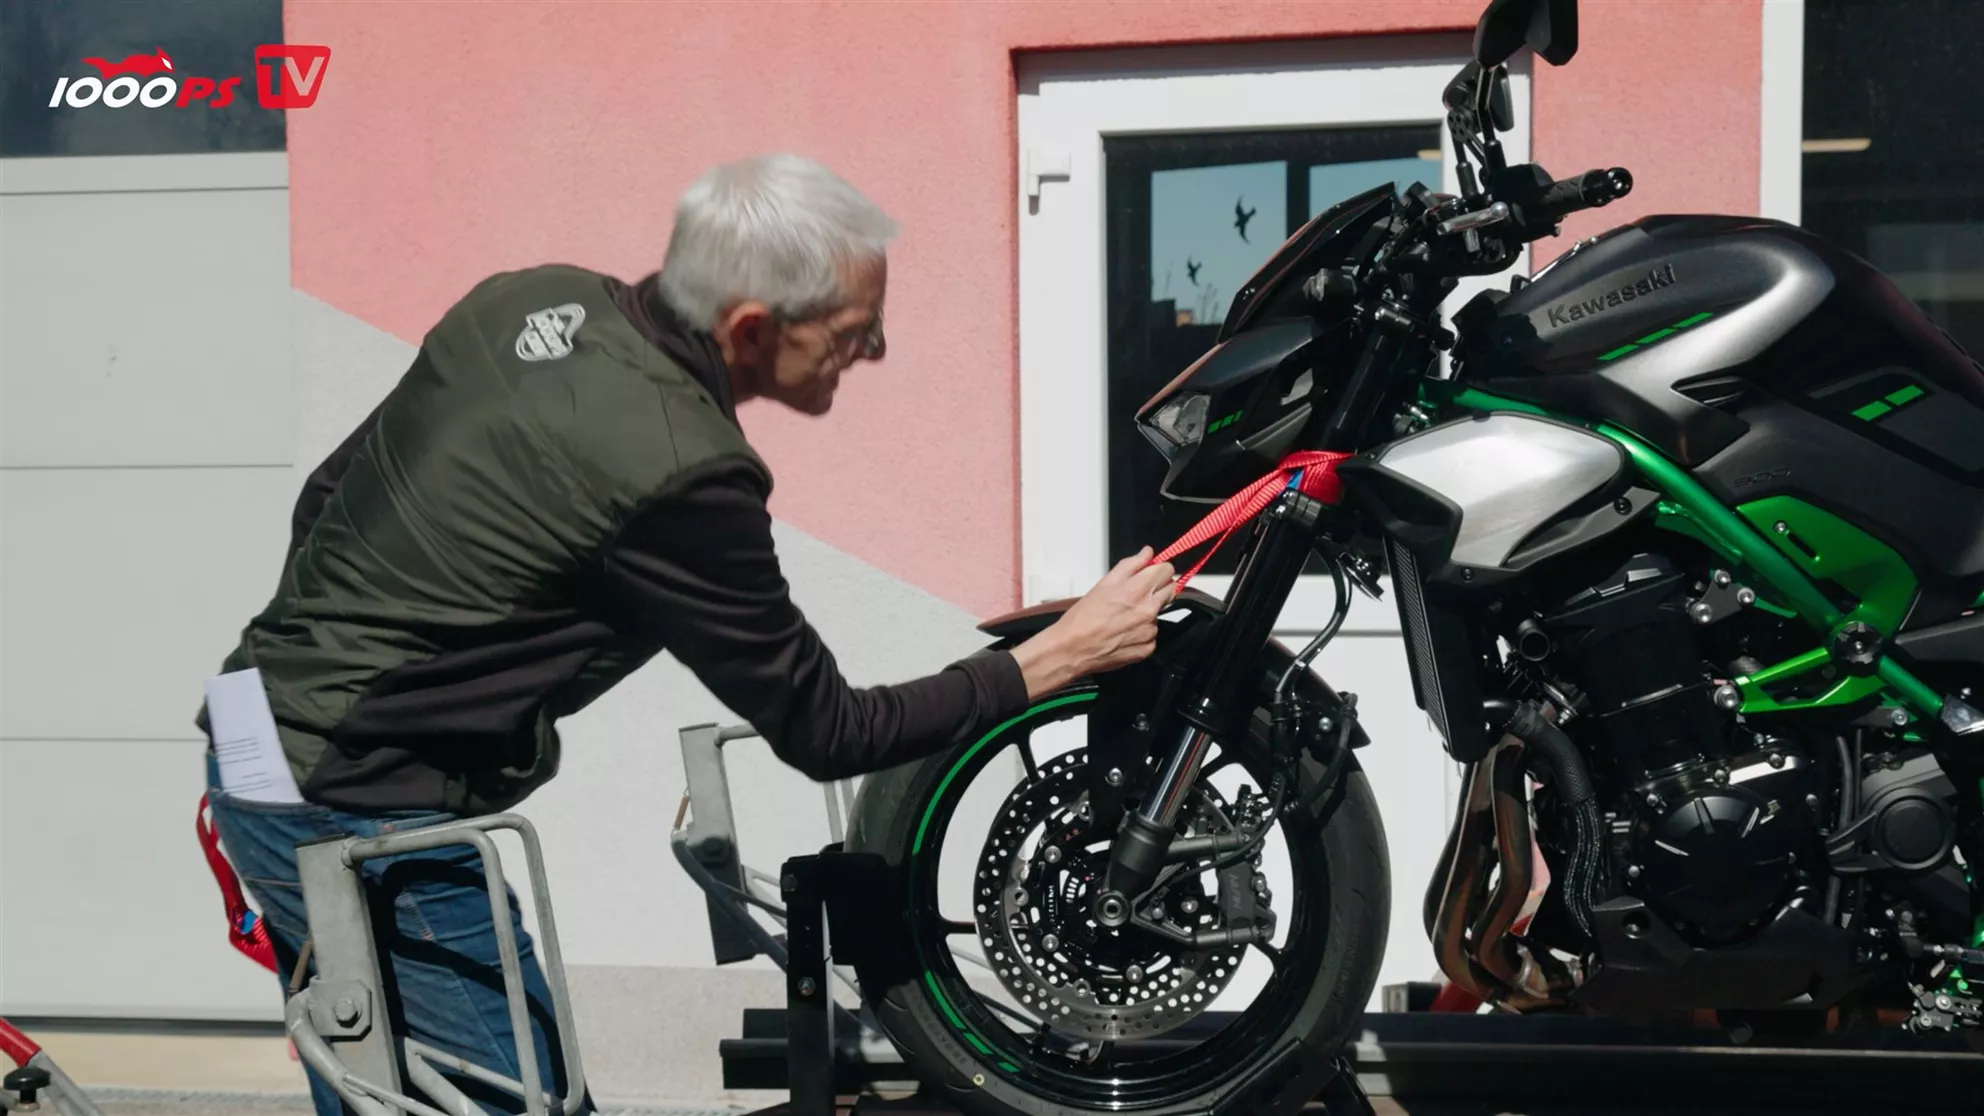
They must be completely untwisted before tensioning. A twist puts more stress on the outer edge and prevents a clean flow of force. Lines, cables and sharp edges must be kept clear. Which points are actually permissible depends on the bike; that's why the respective manufacturer's transport instructions always take precedence over a universal one-size-fits-all solution.
Compress the suspension with feel, not force
A ratchet develops an astonishing amount of force. If you pull the bike down via sprung components, you need enough tension so that bumps don't briefly slacken the straps. Too much of it, however, puts unnecessary strain on the suspension and seals. Martin's practical guideline is around 30 to 40 percent of the suspension travel and in any case no more than half.
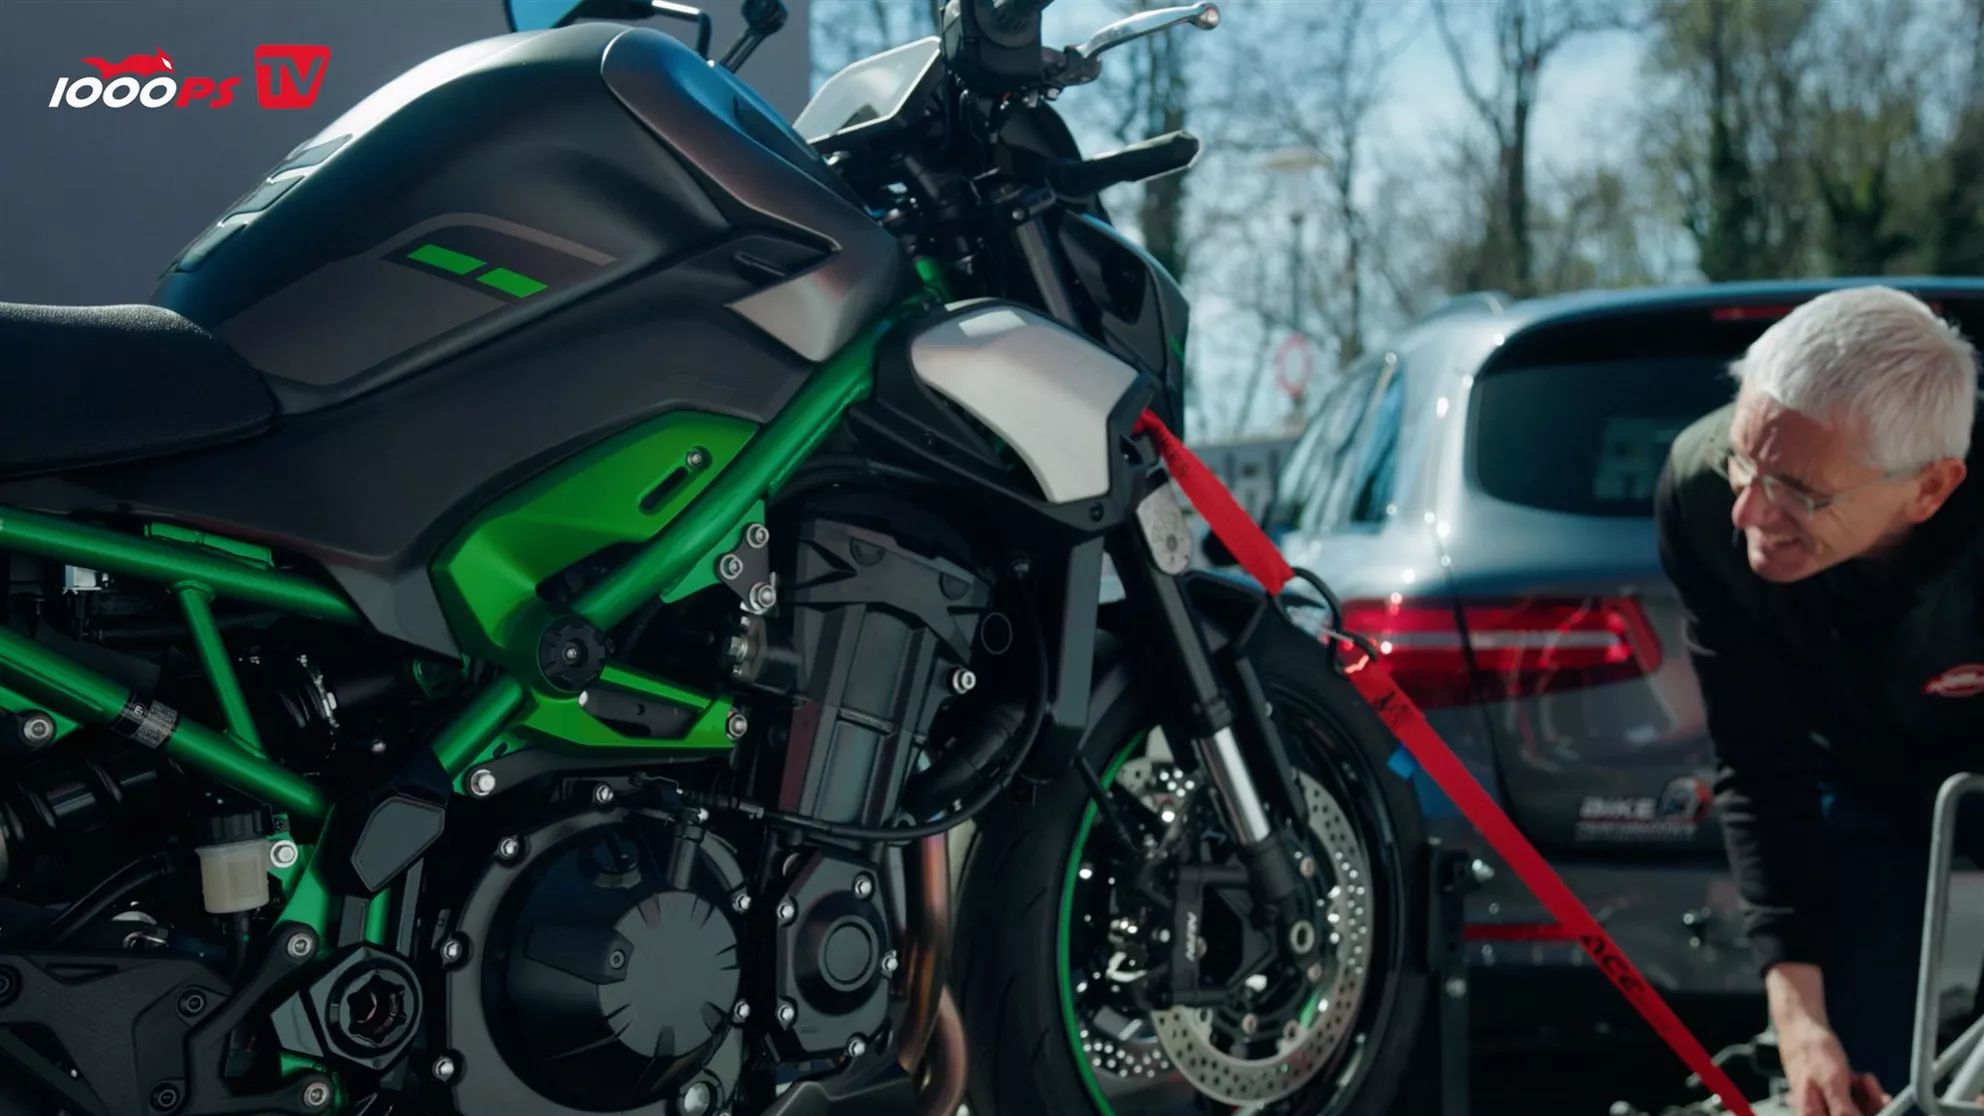
Manufacturer specifications may differ, which is why the manual for the specific bike counts here too. Tension alternately left and right so the vehicle stays upright. Finally, the ratchets must be fully closed; in the open position, the winding can be released again.
The rear needs solid frame-mounted points
The bike is now already stable at the front, but the rear is additionally secured for braking manoeuvres and strong longitudinal forces. Suitable are solid points connected to the frame, such as sturdy pillion footpeg hangers or grab handles designed for the purpose. Plastic parts are out. Martin arranges the straps as symmetrically as possible with a pull angle of roughly 45 degrees, so that together they resist lateral movement and shifting in the direction of travel.
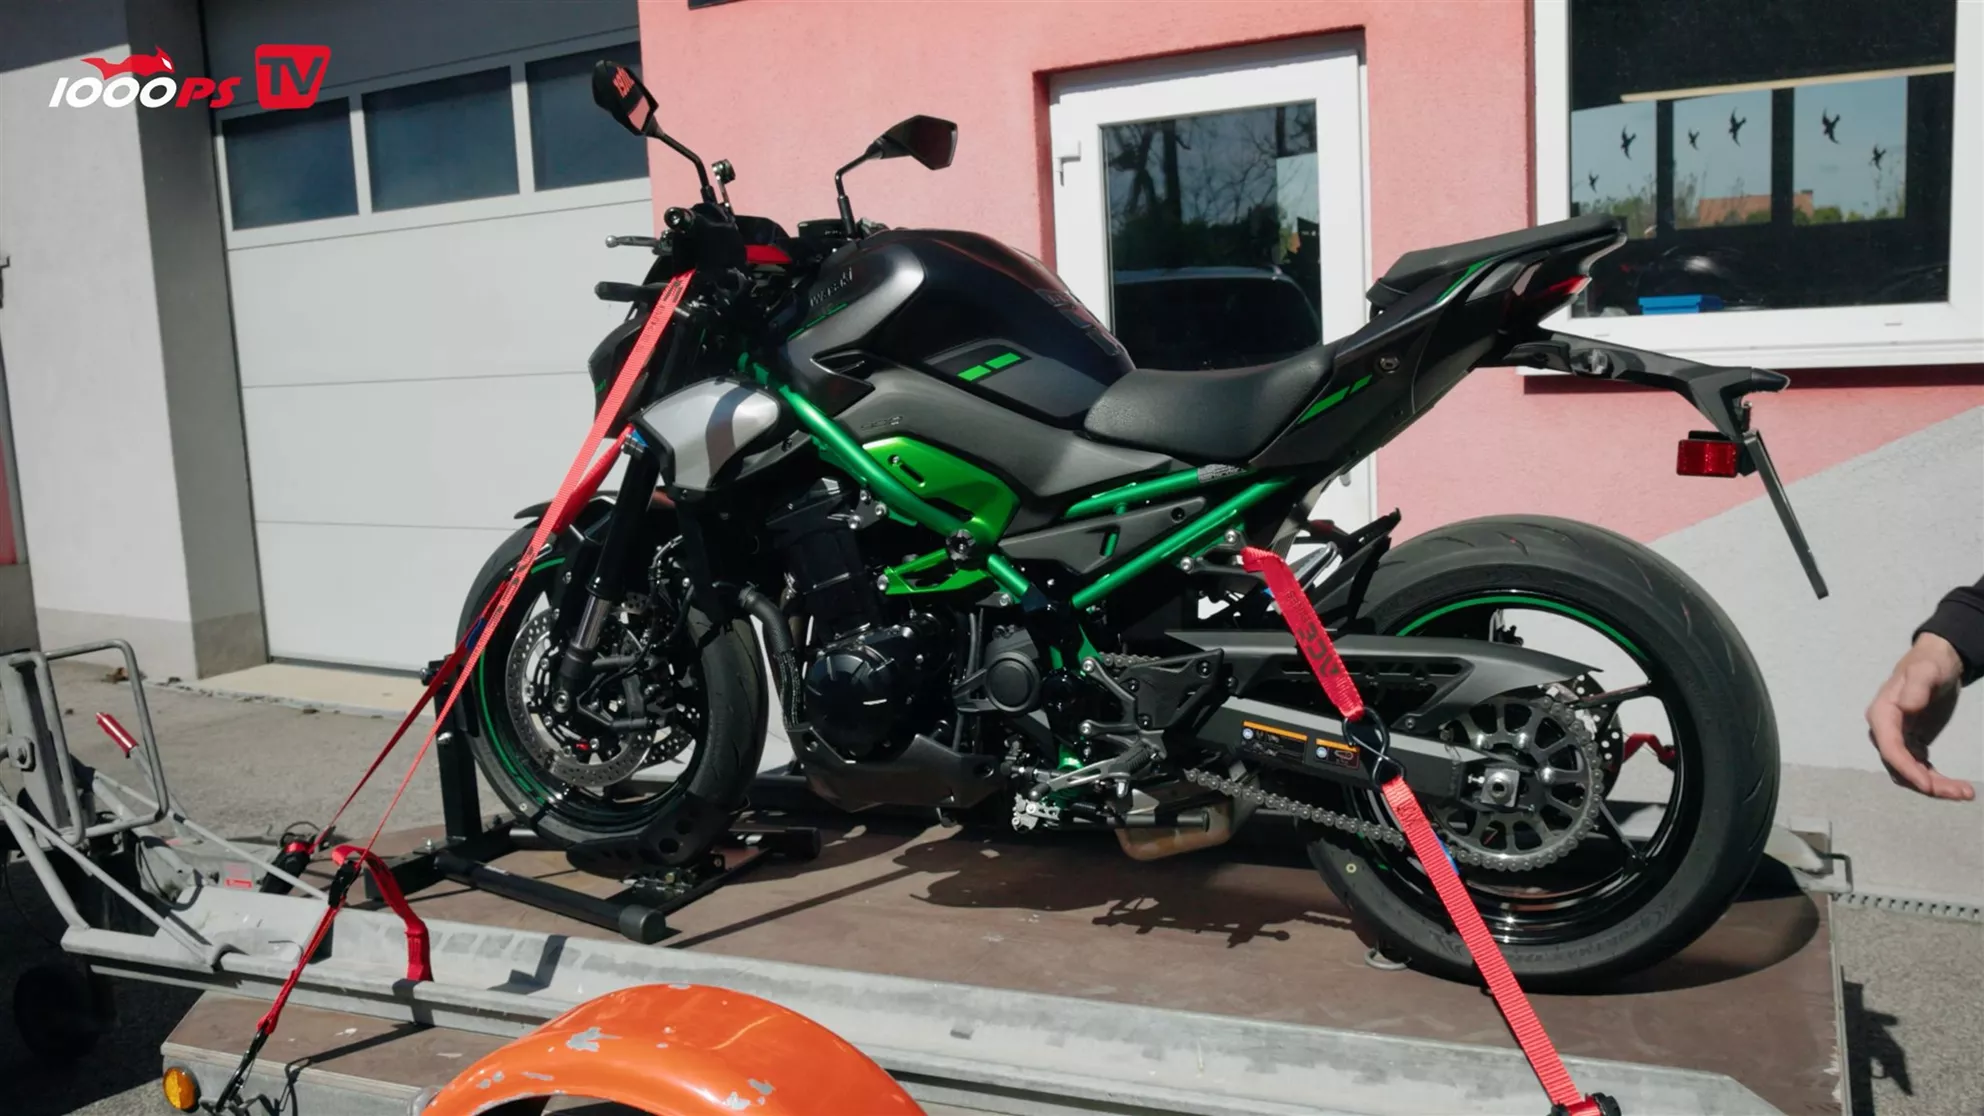
The exact angle depends on the vehicle, load bed and lashing points. Loose strap ends are then secured so they don't flap in the airstream or get tangled. A quick check during stops is also part of a proper transport.
Alternative systems don't suit every bike
If the lower triple clamp is hard to reach because of a fairing, a handlebar tie-down loop can be an alternative. With long enduro handlebars in particular, though, a delicate touch is needed, because high forces can damage the handlebar or its clamps; some manufacturers explicitly rule out this attachment point.
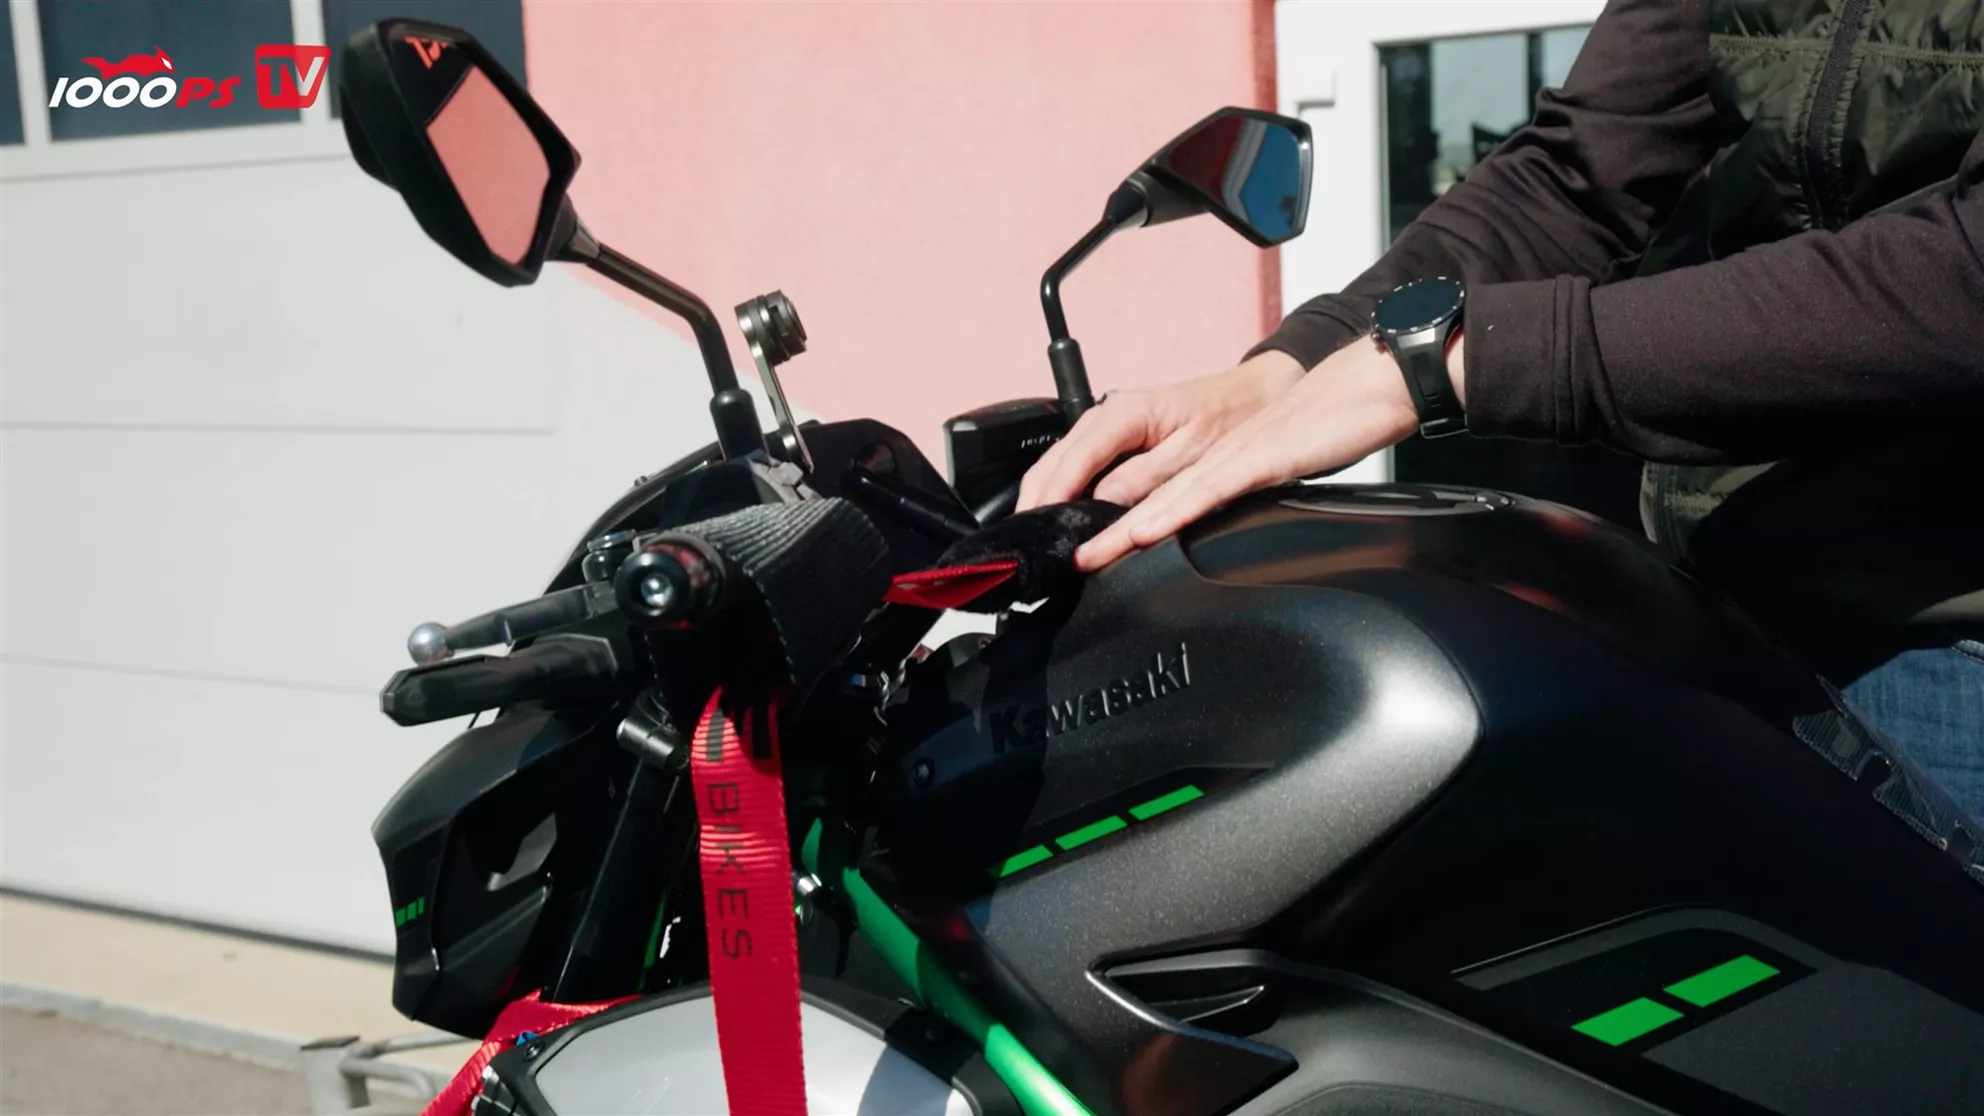
Handlebar tie-down loops can work, but can also cause damage if used incorrectly.
Tyre straps, on the other hand, bypass the suspension and hold the bike directly by the wheel, but require a steep downward pull and additional longitudinal securing. A bar passed through the hollow front axle is mainly suited to tensioning forwards. Which system works is therefore not decided by the accessories catalogue alone, but by the combination of bike, approved attachment points and lashing eyes on the transport vehicle.
The same basics apply when unloading
Before unloading, the ramp is again secured against slipping and aligned exactly with the rear wheel. The bike is released from the chock in a controlled manner and rolled back step by step. On a wet or slippery ramp, a locked front wheel can still slide. Martin therefore leaves first gear engaged and, if necessary, additionally uses engine braking via the clutch. With a van's higher loading edge, a long curved ramp, a step and, if needed, a second ramp for secure footing all help.
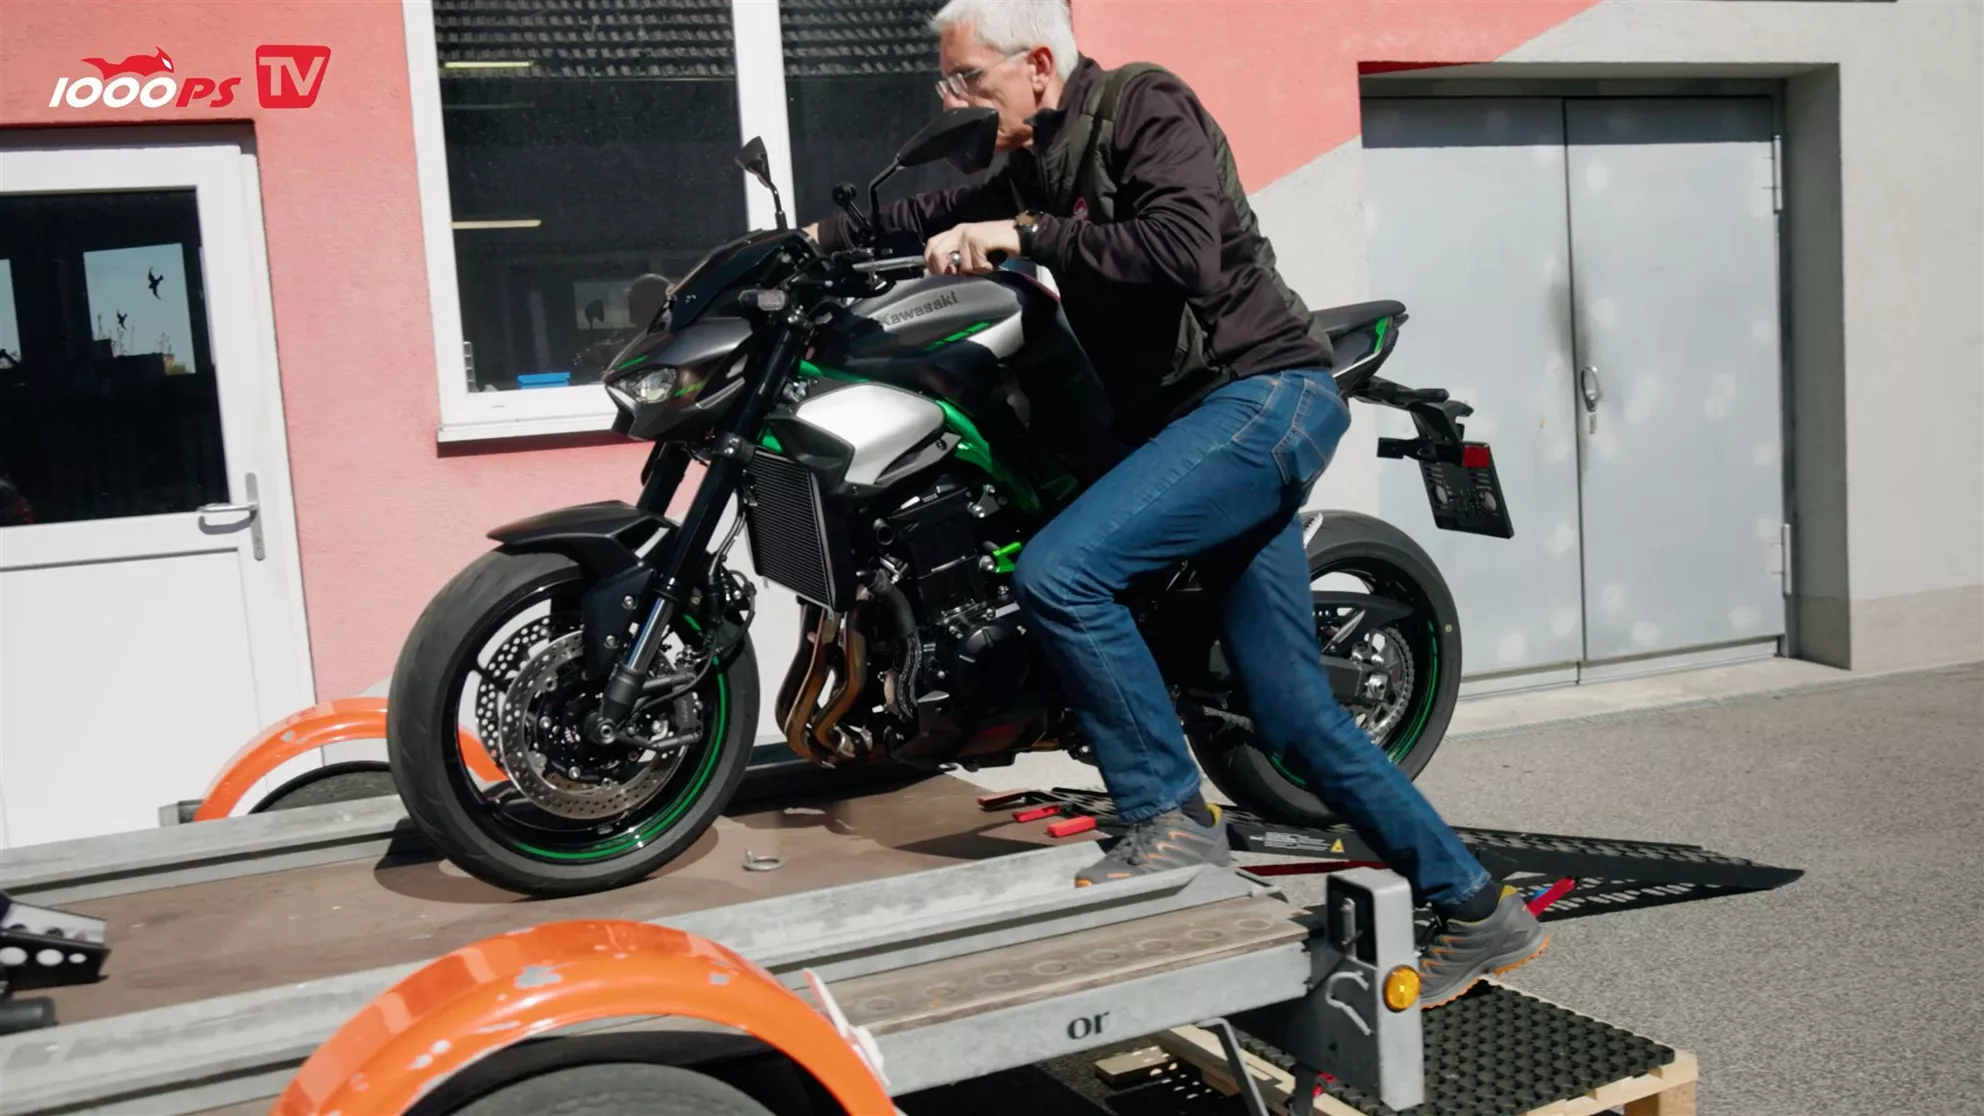
The principle always stays the same: first sort out geometry and stops, then move, then tie down symmetrically. That way the planned transport stays a journey and doesn't become an involuntary crash video.