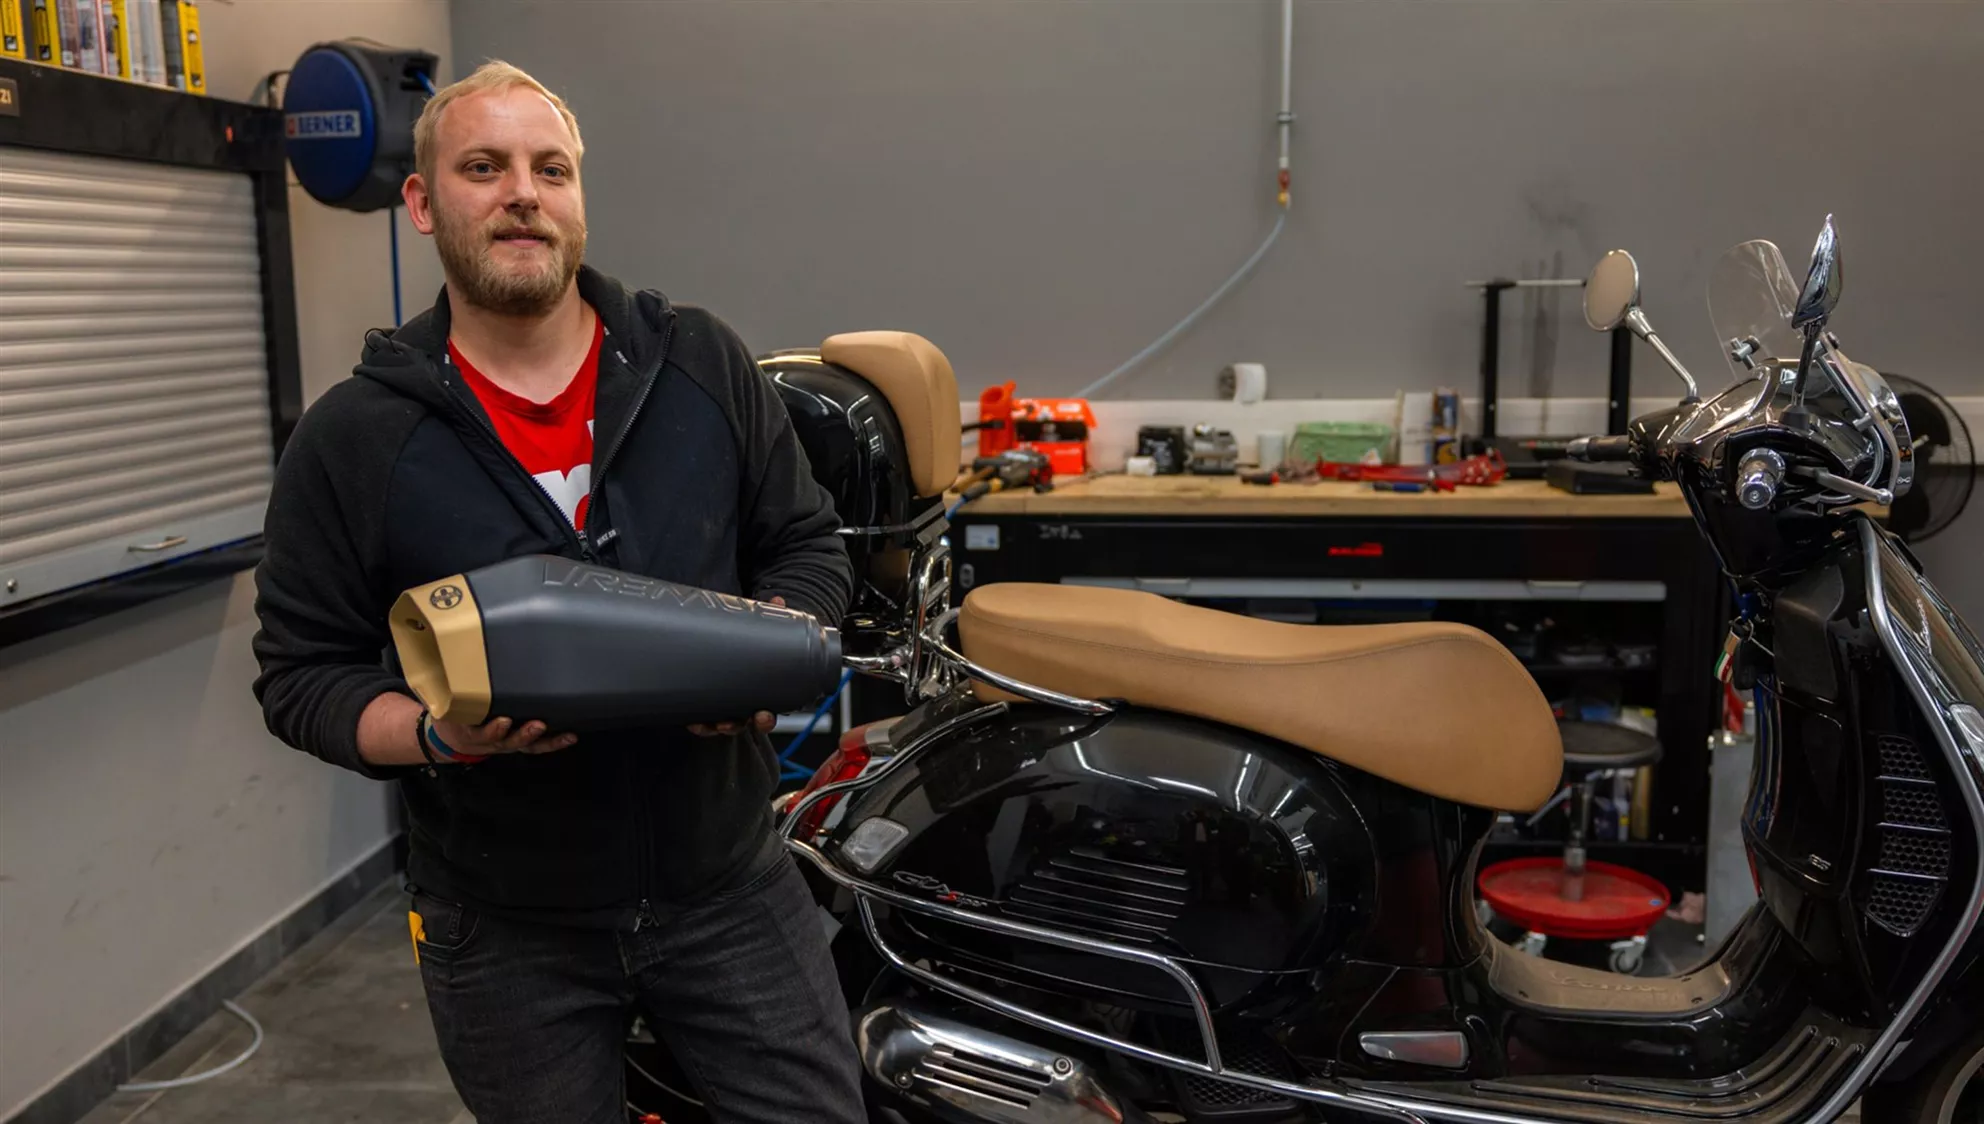
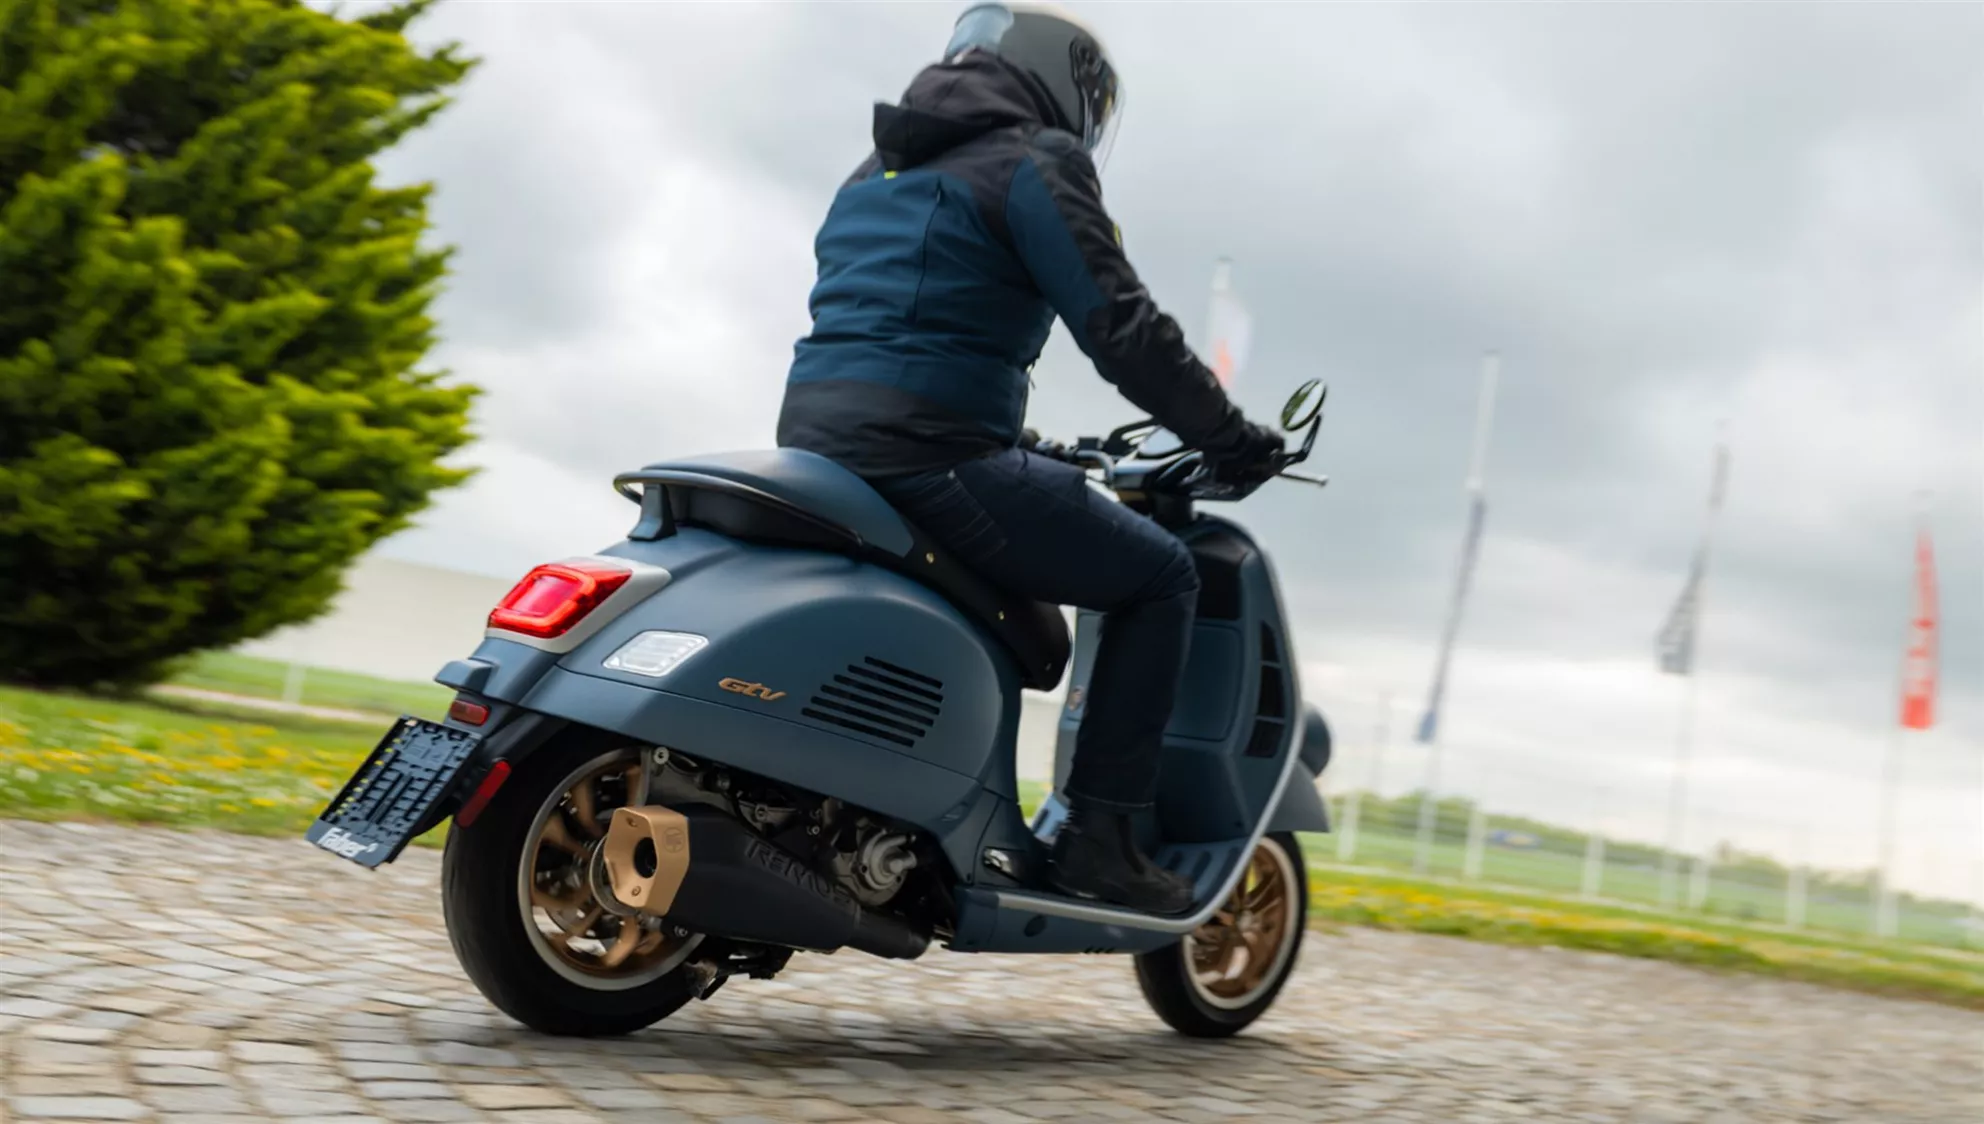
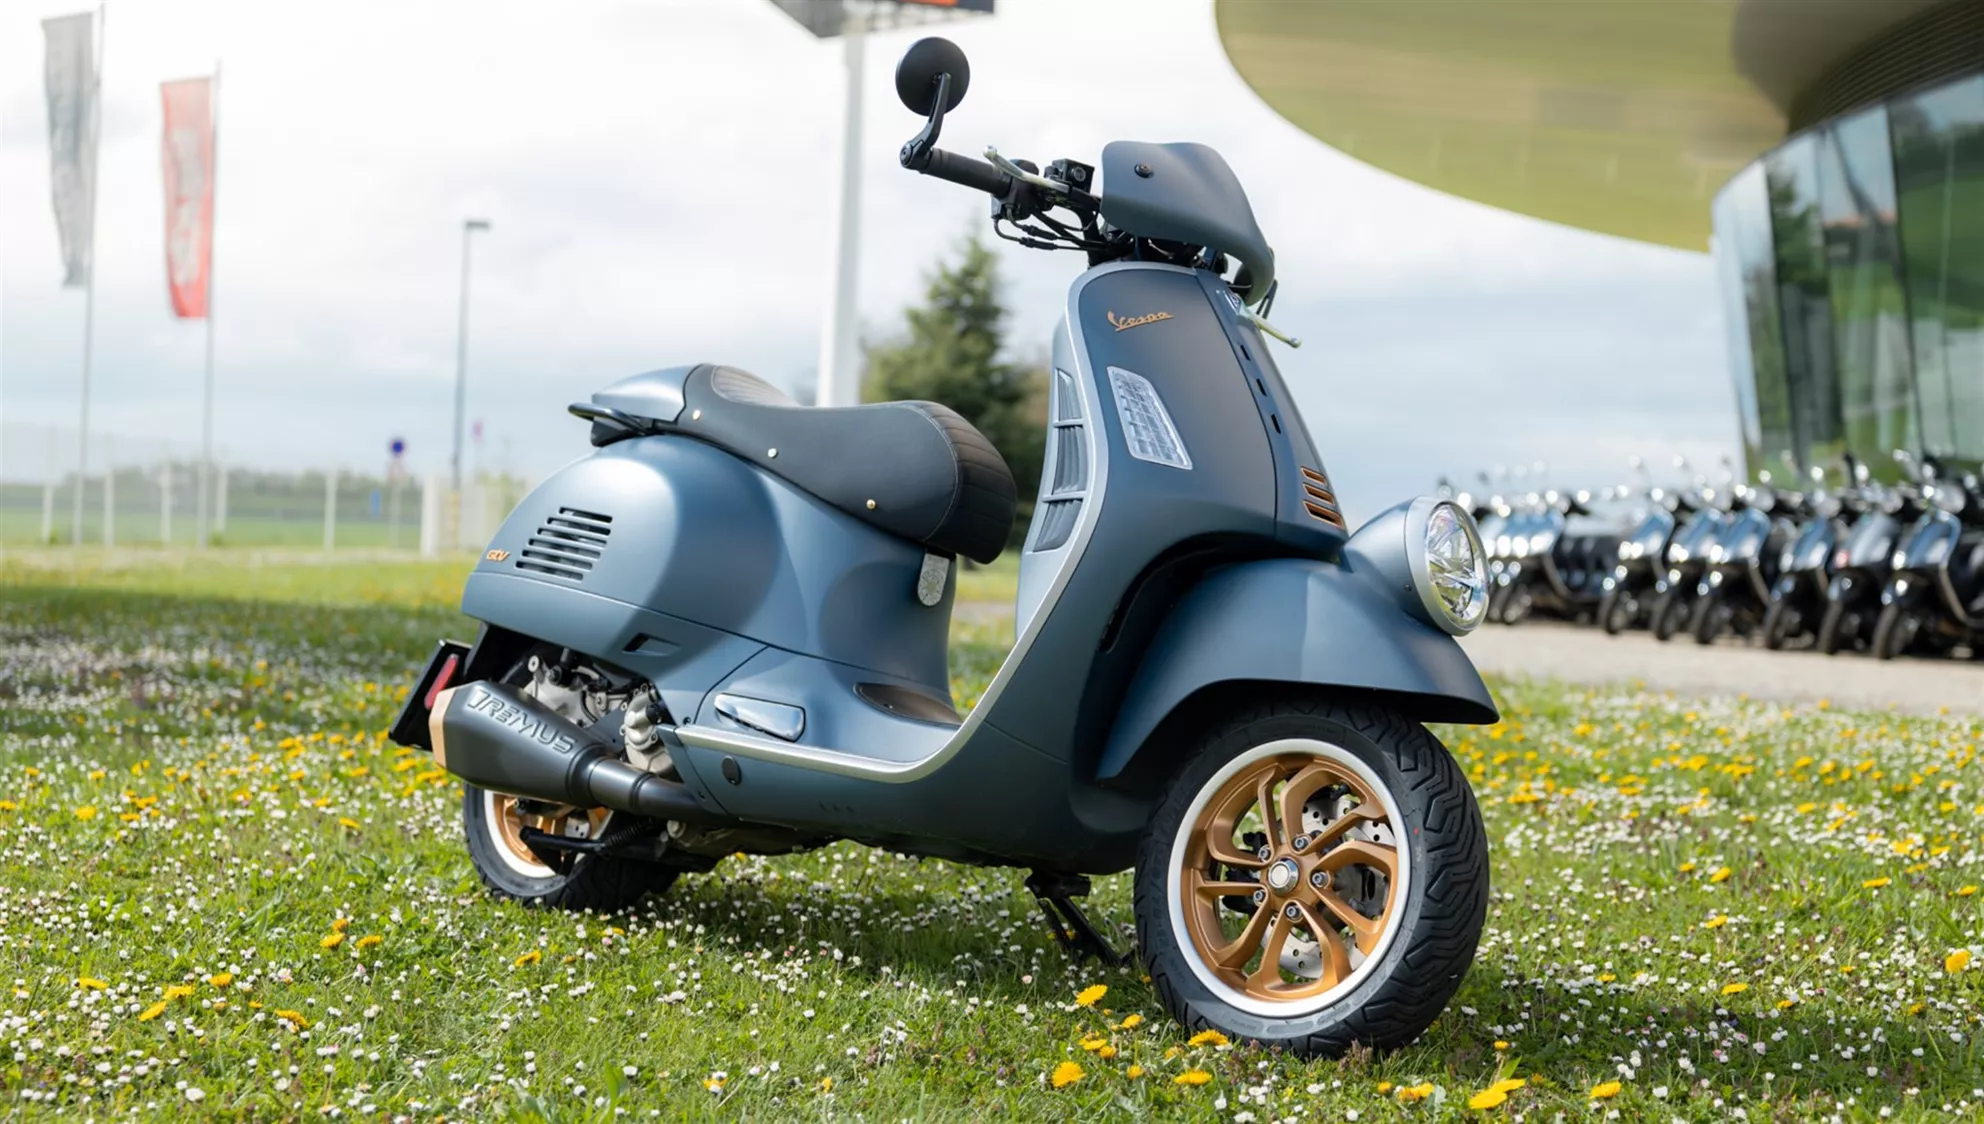
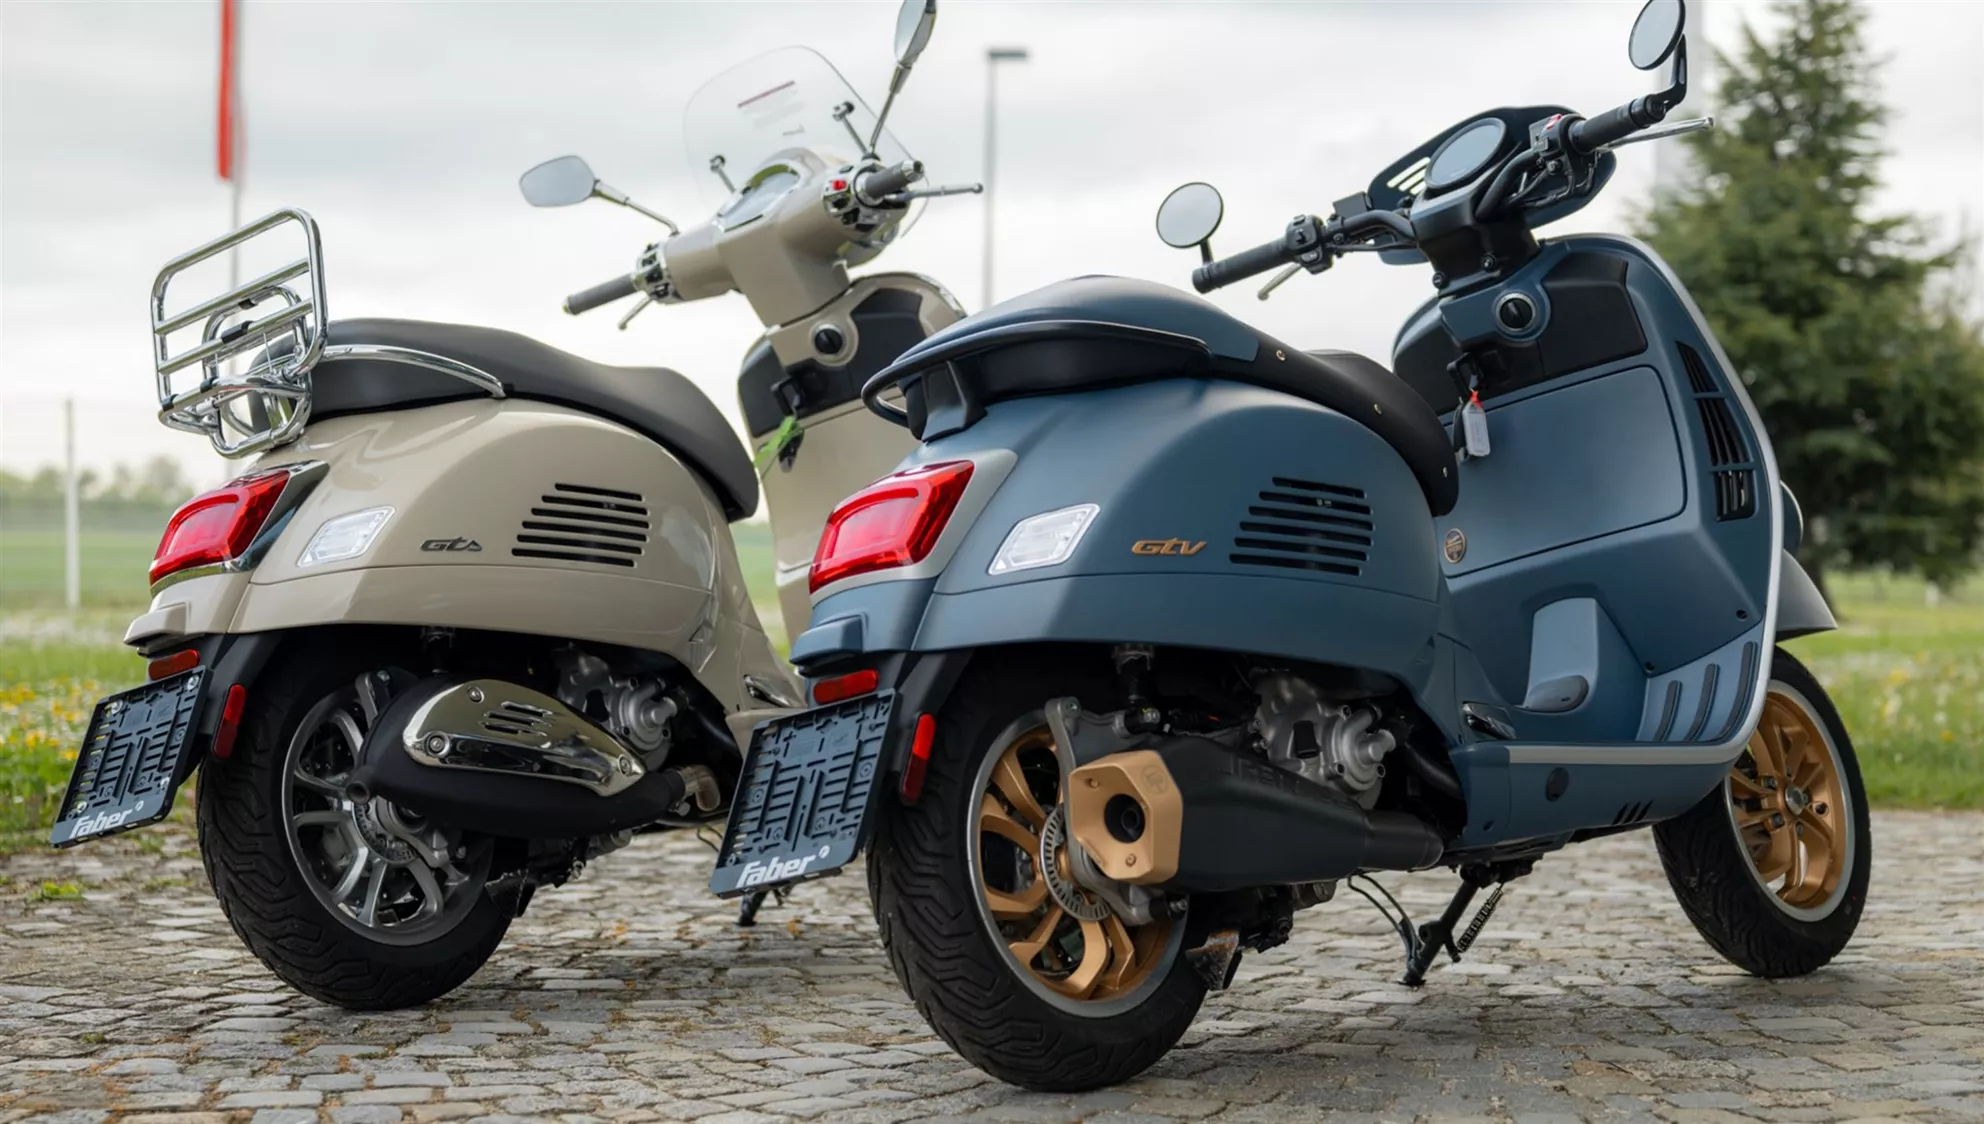
For the installation of the REMUS RS 2.0 on the Vespa GTV Officina 8 310 (and many other GTS/GTV models), we visited the Faber Roller & Bike Workshop and observed the process in detail with workshop manager Markus Wagner. The good news upfront: The conversion is generally straightforward—provided you know the key points.
First, the seat should be opened to allow access. Then, disconnect the lambda sensor before tackling the exhaust itself. Next, loosen the clamp and the muffler mounting bolts so that the stock exhaust can be removed. In the following step, the header at the engine is loosened and removed by unscrewing the flange nuts. During removal, you'll notice: access is a bit tight in one area, so a slim 17mm wrench that fits neatly is recommended.
When installing the REMUS RS 2.0, one crucial point is to avoid tension. To do this, the two 10mm nuts on the header should be only lightly tightened initially. The new exhaust is first mounted and properly aligned before all connections are fully tightened. This prevents the header from becoming stressed or, in the worst case, damaged.
The actual installation process is quite comprehensible. The slip-on is fitted, aligned, and tightened with the specified torque of 25 Nm. With some mechanical experience, the conversion can generally be done at home.
Another important aspect concerns the lambda sensors. Since the REMUS RS 2.0 is compatible with both Euro 5 and Euro 5+ models, the second lambda opening on a Euro-5 Vespa must be sealed with the supplied plug. This ensures no exhaust leak and proper system function.
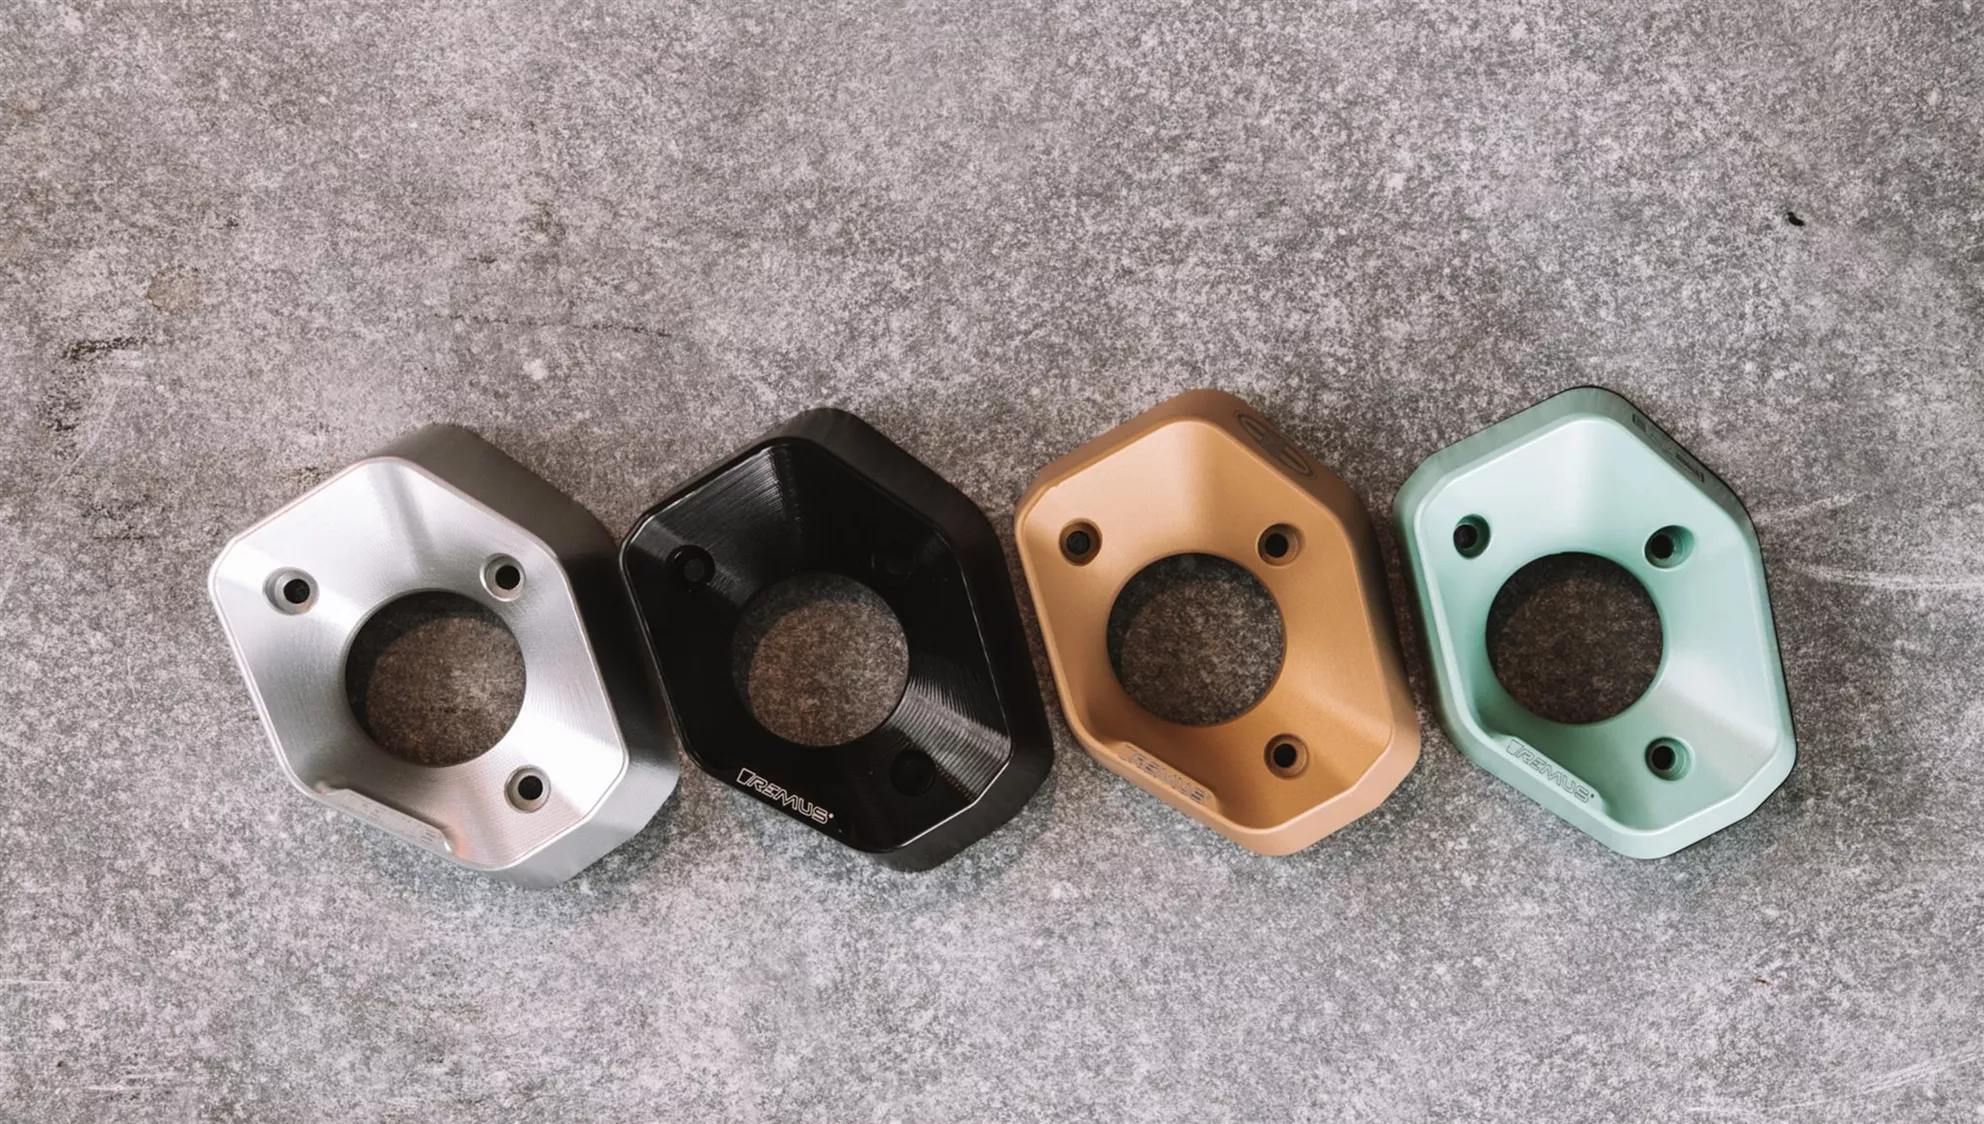
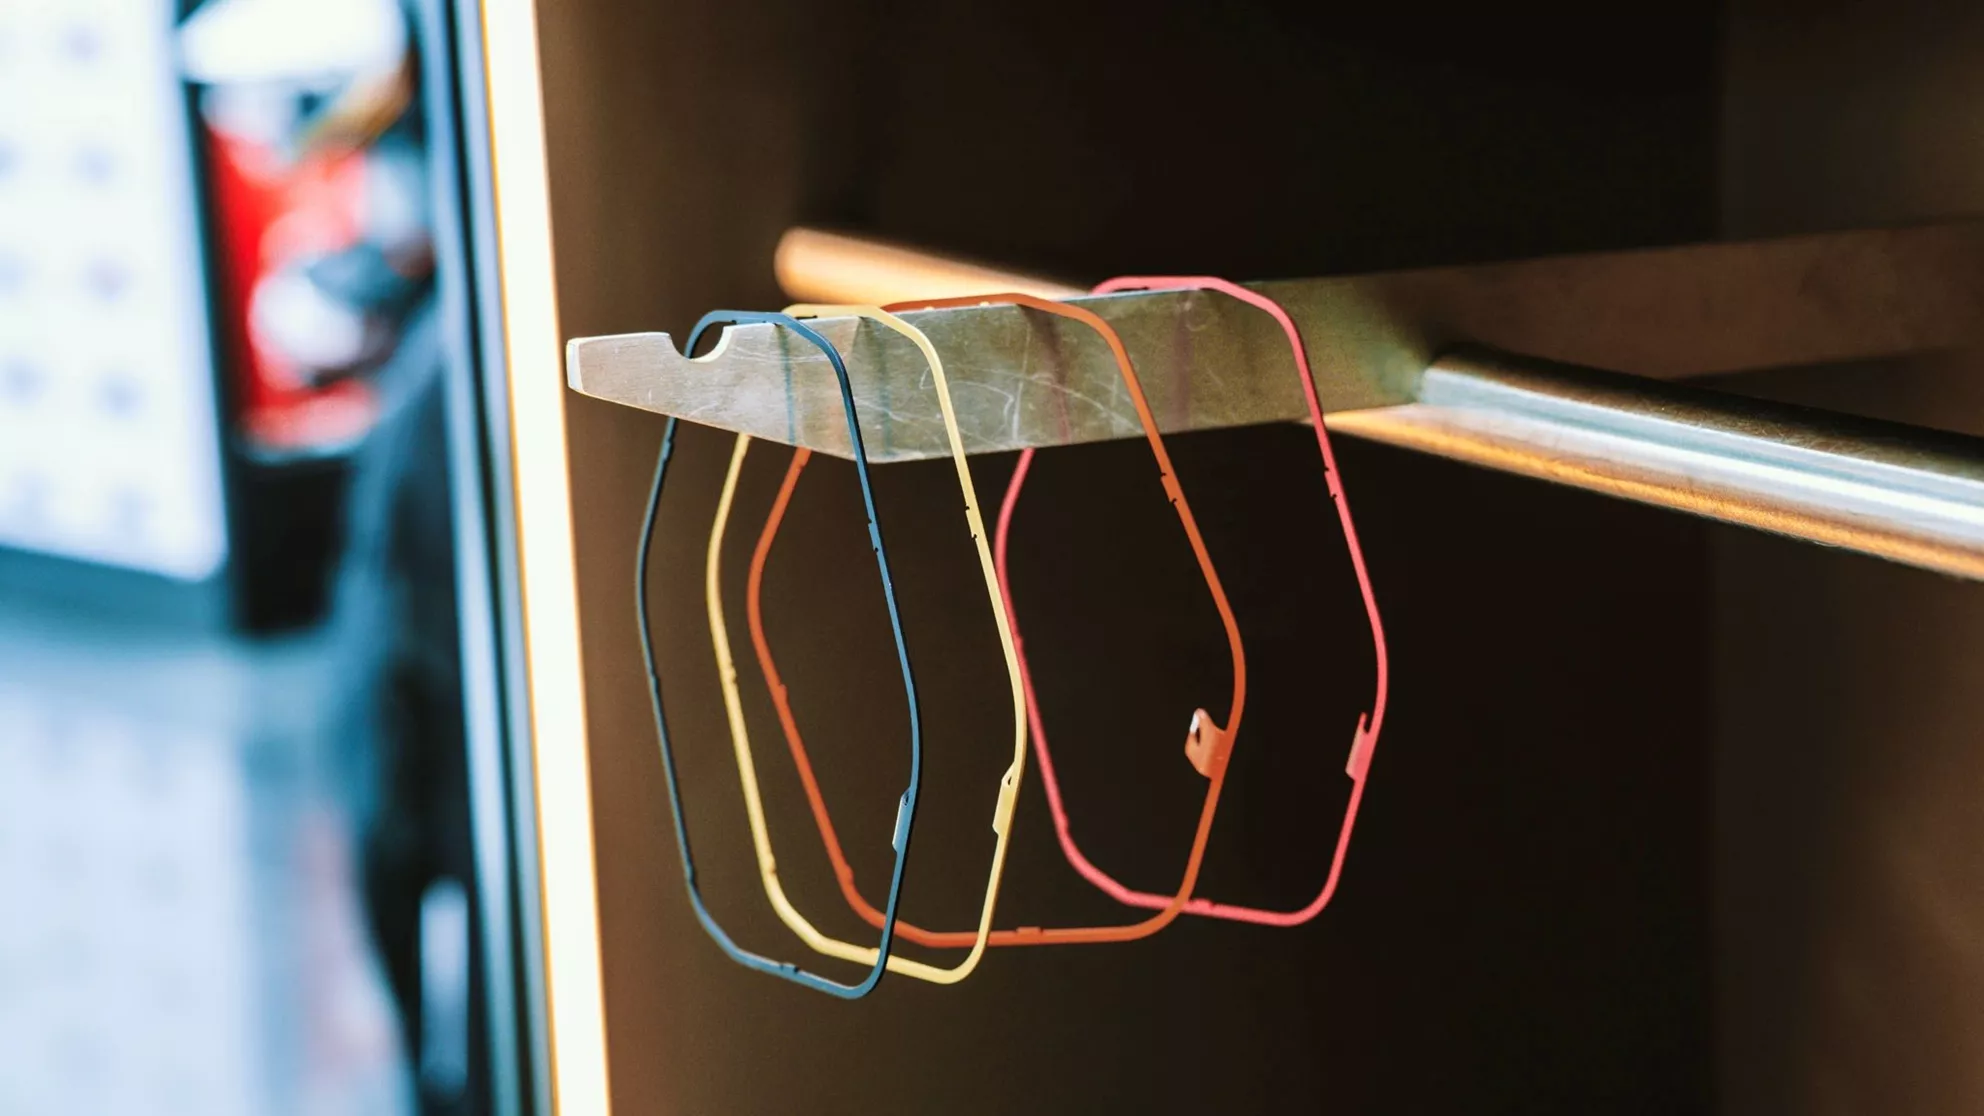
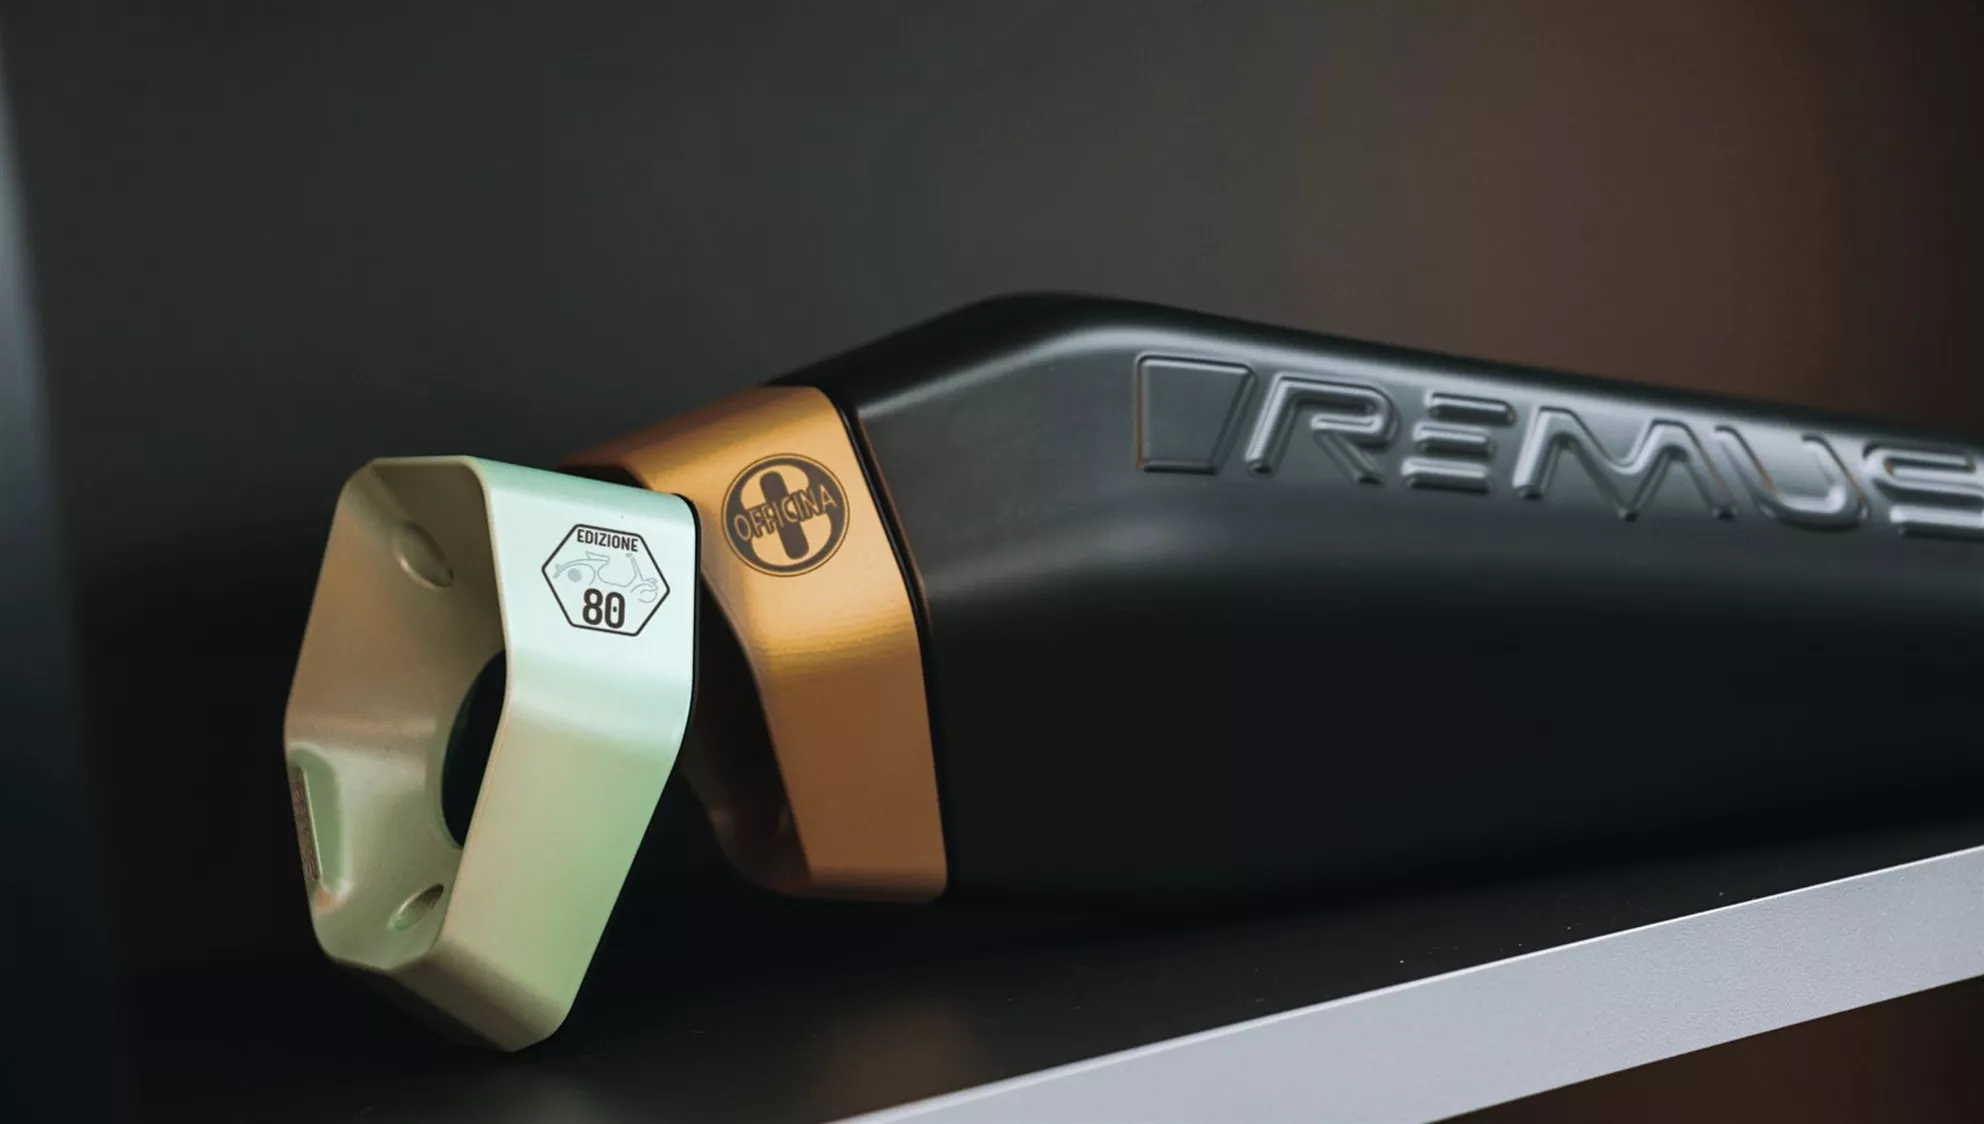
Regarding customization, there are practical tips: if you wish to change the end cap or powerring, it's best to use a Torx-25 socket and a small ratchet. Behind it sits a colored insert fastened with a 2.5mm Allen key. This allows the exhaust's appearance to be easily and material-conservatively adjusted.
This straightforward interchangeability is part of the appeal: end caps and power rings can be quickly varied according to occasion or personal mood—sometimes subtle, sometimes with striking color accents. With minimal effort, a new, individual look is created time and again.
After installation, no special procedure is necessary. The engine control does not need adaptation—just mount and ride.
Note: If you prefer not to perform the installation yourself or lack the appropriate tools, a visit to the workshop is advisable. With about 45 minutes of labor time, the effort is manageable, the installation is carried out by experienced specialists, and the warranty remains intact. Scheduling an appointment is advisable, but in general, you can wait on-site for the conversion if you have some time to spare.

&width=72&height=72&bgcolor=rgba_39_42_44_0&mode=crop "Author: nopain")